How to Cut Garage Floor Tiles for Clean Edges and Tight Fits
Published How we research
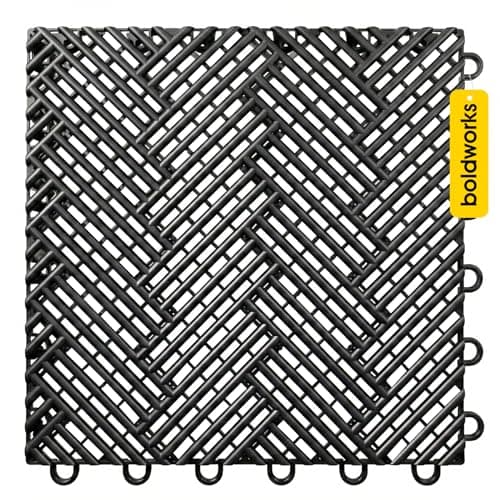
Interlocking garage floor tiles cut easily with a sharp utility knife for edges, or a jigsaw or fine-tooth saw for thick tiles and curves. Mark the cut on the top face, score or saw along a straightedge, and leave a small gap at the wall because tiles expand and contract with temperature. Ceramic and porcelain tiles need a snap cutter or wet saw instead. Most of the work is measuring correctly, so the steps below start with the layout and then cover each tool.
Products from this article
The highest-scoring picks from the buying guides this article links to. Scores are our editorial assessment, not customer ratings.
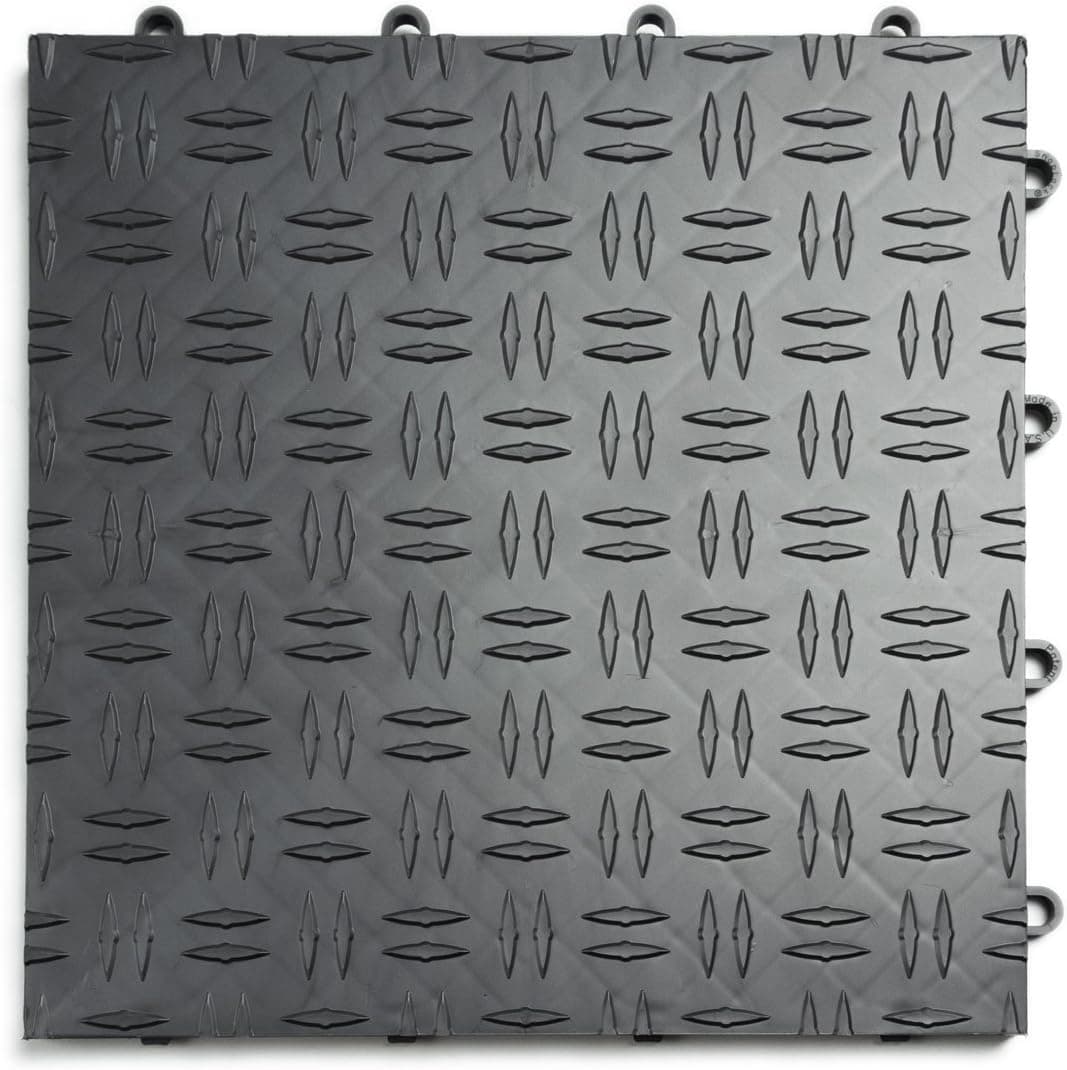
+ Diamond pattern gives a non-slip, classic garage look
From our guide: Best Garage Floor Tiles
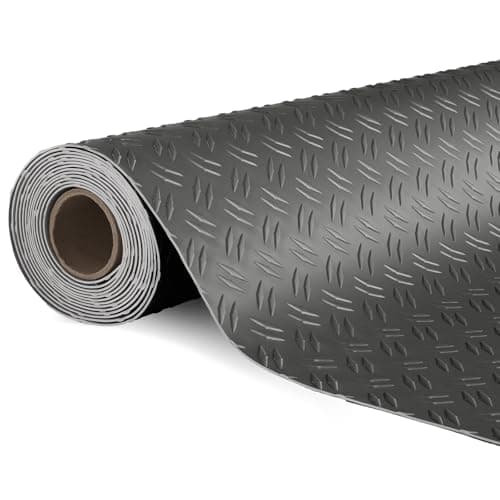
+ Same TUFFIOM 7.5 x 17 ft size, giving about 128 sq ft of roll-out coverage
From our guide: Best Garage Floor Mats
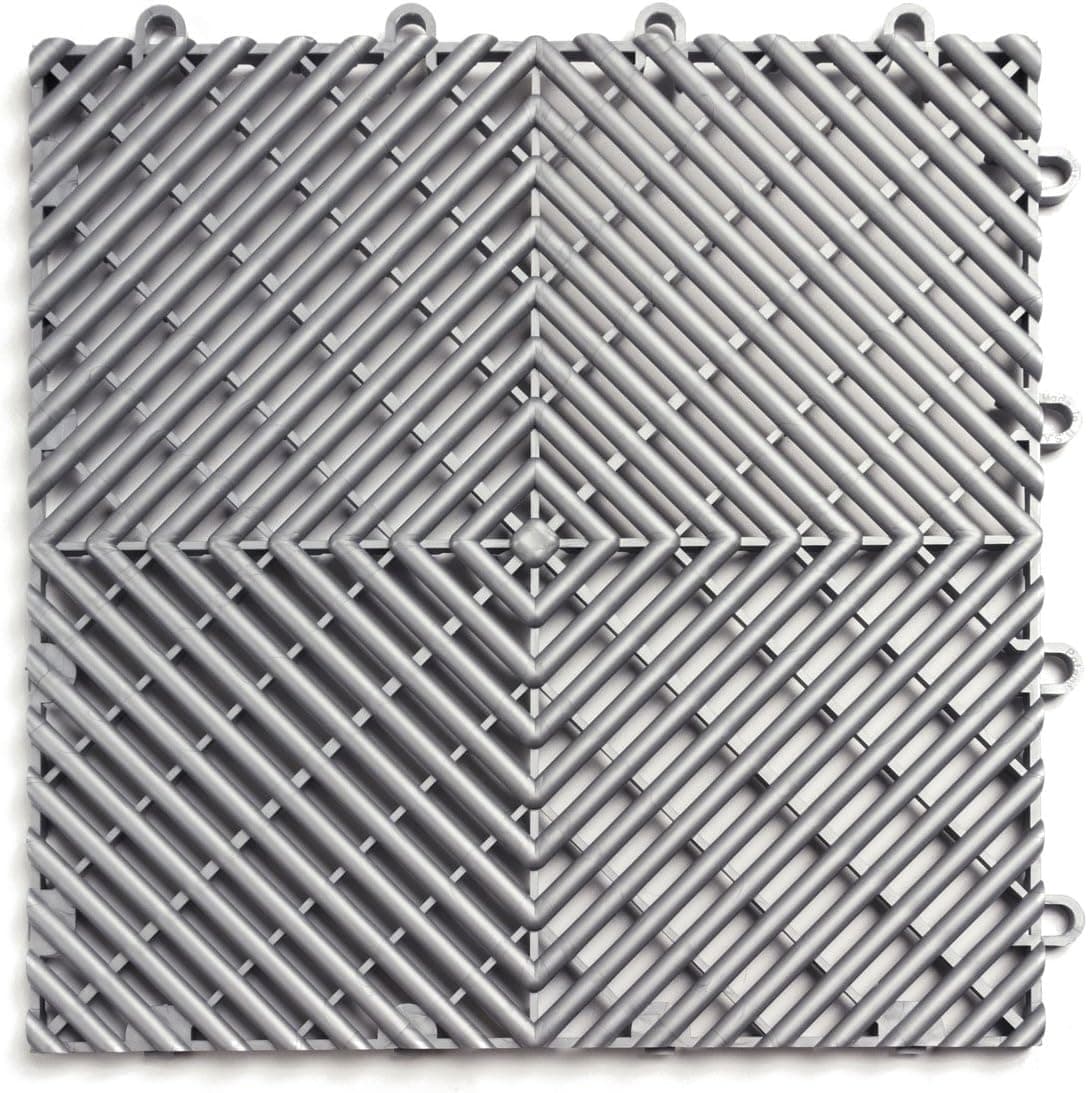
+ Alloy finish gives a sleek metallic showroom look
From our guide: Best Garage Floor Tiles
+ 610GSM commercial-grade PVC, which the listing compares against standard mats under 550GSM.
From our guide: Best Garage Floor Mats

Plan the layout before cutting anything
Measure the garage and dry-lay a row of tiles across the center in both directions before you cut. The goal is to avoid tiny slivers at the walls. If the last row would be a very narrow strip, shift the starting line so that both edges end with cuts of similar width. Start from the center or from the door and work outward.
Most interlocking tiles have a loop and tab edge on two sides, with a flat edge on the other. Position the finished edge so that it faces the walls and the cut edges end up against the walls or under a baseboard where possible. Leave about a quarter inch of room at the walls, or the gap the manufacturer specifies, so the floor can expand in warm weather without buckling.
Cut interlocking tiles with a utility knife
For thin PVC and plastic tiles, a utility knife with a fresh blade does a clean job. Measure the piece, mark it with a pencil or marker on the top, and lay a metal straightedge or carpenter's square along the line. Press the straightedge down firmly, hold the knife at a steady angle and make several light passes instead of one heavy one. The blade should cut most of the way through, and the remaining thin layer snaps cleanly or finishes with one more pass.
Change blades often, because rubber and vinyl dull a blade quickly and a dull blade tears the edge or slips. Cut on a piece of scrap plywood or cardboard so you do not score the floor underneath. Always cut away from your hand and keep your free hand behind the blade. If the tile is too stiff, warm it a little in the sun or indoors, because cold plastic is brittle and can crack.
Use a saw for thick tiles, curves and notches
Thicker polypropylene and rigid tiles are often easier with a saw. A jigsaw with a fine-tooth blade handles straight cuts, curves and notches. A fine-tooth hand saw, miter saw or circular saw with a fine blade also works for straight cuts. Clamp the tile to a bench or hold it flat so it does not chatter, and cut slowly to avoid melting the plastic with friction.
Put painter's tape over the line to reduce chipping and use a fine-tooth blade. For a notch around a post, a pipe or a drain, trace the shape on the tile first with a paper template, drill a starter hole in the waste area, and cut to the line. Sand any rough edge lightly with sandpaper, then test the fit before you lock it into place.
Cut ceramic or porcelain tiles
If your garage floor uses ceramic or porcelain tile, the tools change. A manual snap cutter scores the glaze and snaps the tile along the line, and works well for straight cuts on thinner tile. A wet saw with a diamond blade is the tool for thick tile, L-shaped cuts and hard porcelain, and the water keeps the blade cool and controls dust.
Wear safety glasses, hearing protection and a dust mask, since tile dust and chips are sharp and irritating. An angle grinder with a diamond blade can finish small notches, but it makes a lot of dust, so use it outdoors when you can. Smooth sharp cut edges with a rubbing stone.
Finish the edges and fit around obstacles
Many interlocking tile systems sell edge ramps or border pieces that give the floor a finished look at the door and walls, so check what your tile system includes before cutting border pieces by hand. Where there is no ramp, cut the tile so the cut edge lies against the wall, and the finished edge of a border strip faces the room.
Around a drain, a floor post or a water heater base, cut the tile in two or more pieces so you can fit it without forcing the interlocking tabs. Test each piece dry, then press the tabs home with a rubber mallet, working across the floor. If you would rather skip the cutting entirely, a roll-out mat covers the floor with a single trim along the edge, and a coating avoids cutting entirely.
Frequently asked questions
What is the best tool to cut garage floor tiles? For interlocking PVC and plastic tiles, a sharp utility knife and a metal straightedge handle most cuts, and a jigsaw handles curves and thick tiles. Ceramic and porcelain need a snap cutter or wet saw.
Do I need to leave a gap around the edges? Most interlocking tile makers recommend a small expansion gap at the walls, often about a quarter inch, because tiles change size with temperature. Check the instructions for your product.
How do I avoid thin slivers along the walls? Dry-lay the tiles first and adjust the starting line so the cut tiles at both walls are close to the same width and wider than a few inches.
Can I cut tiles in place? It is safer to remove the tile, cut it on a flat surface and then fit it. Cutting in place can score the floor beneath it.
Popular right now
- Best Tool Hanging SystemsBuying guide
- Best PegboardsBuying guide
- Building a Mechanic's Tool Kit From ScratchArticle
- Best Heavy-Duty ShelvingBuying guide
- Best WorkbenchesBuying guide
- Epoxy vs Tile Garage FlooringArticle
Based on the last 28 days of search and visitor data.