How to Epoxy a Garage Floor
Published How we research
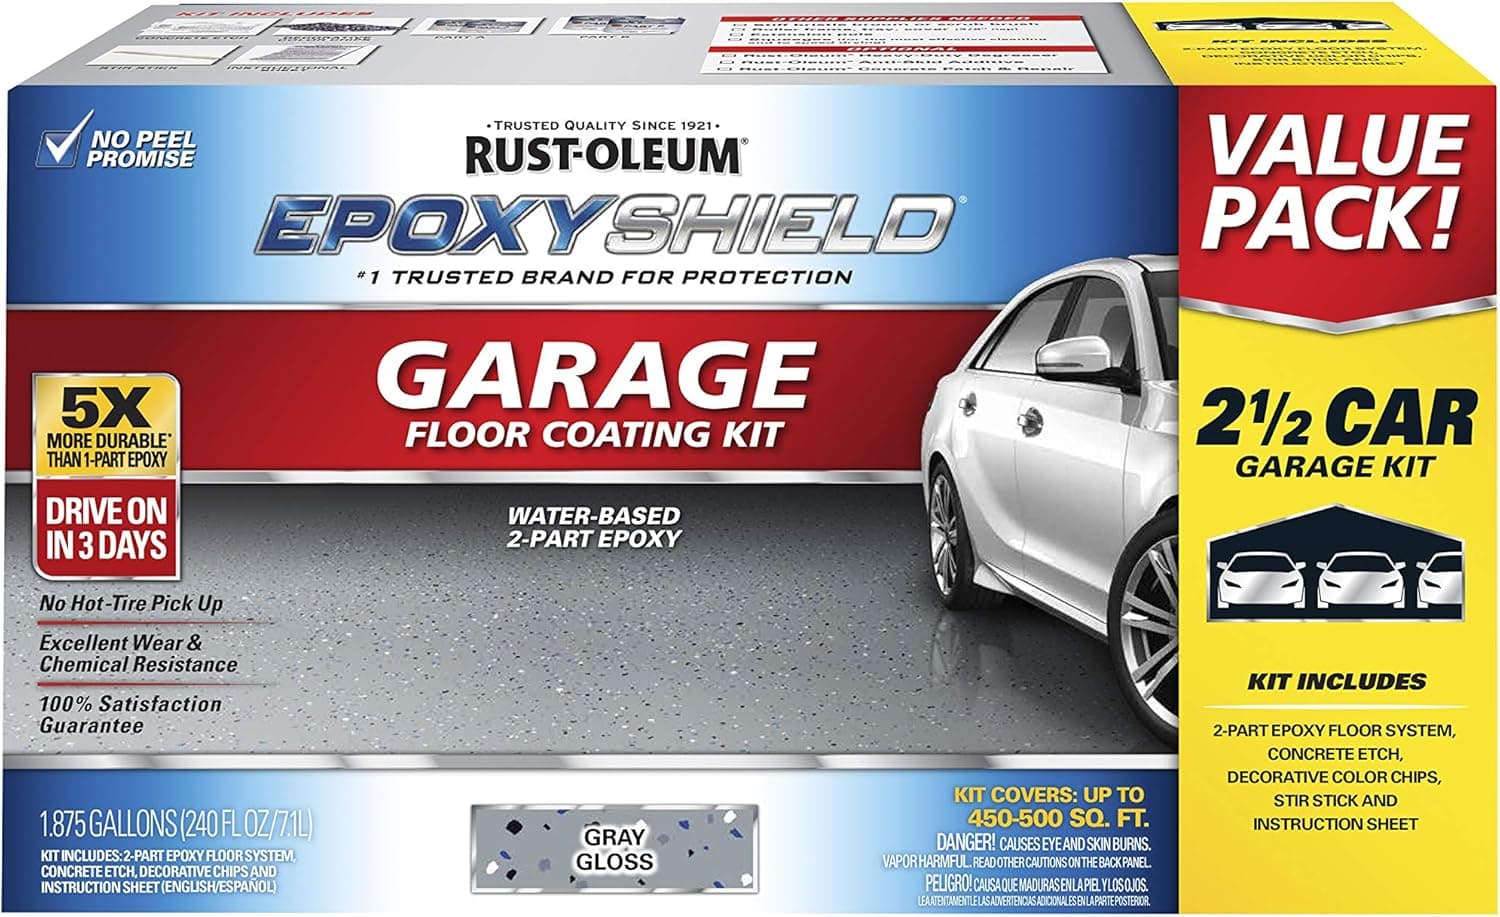
An epoxy floor transforms a dull gray slab into a glossy, durable, easy-to-clean surface that resists oil, chemicals, and hot tires. It is one of the most satisfying garage upgrades you can tackle yourself, but success lives and dies on preparation. Most epoxy failures trace back to a floor that was not cleaned, repaired, and etched properly. Give the prep the attention it deserves and your coating will look great and last for years.
Products from this article
The highest-scoring picks from the buying guides this article links to. Scores are our editorial assessment, not customer ratings.
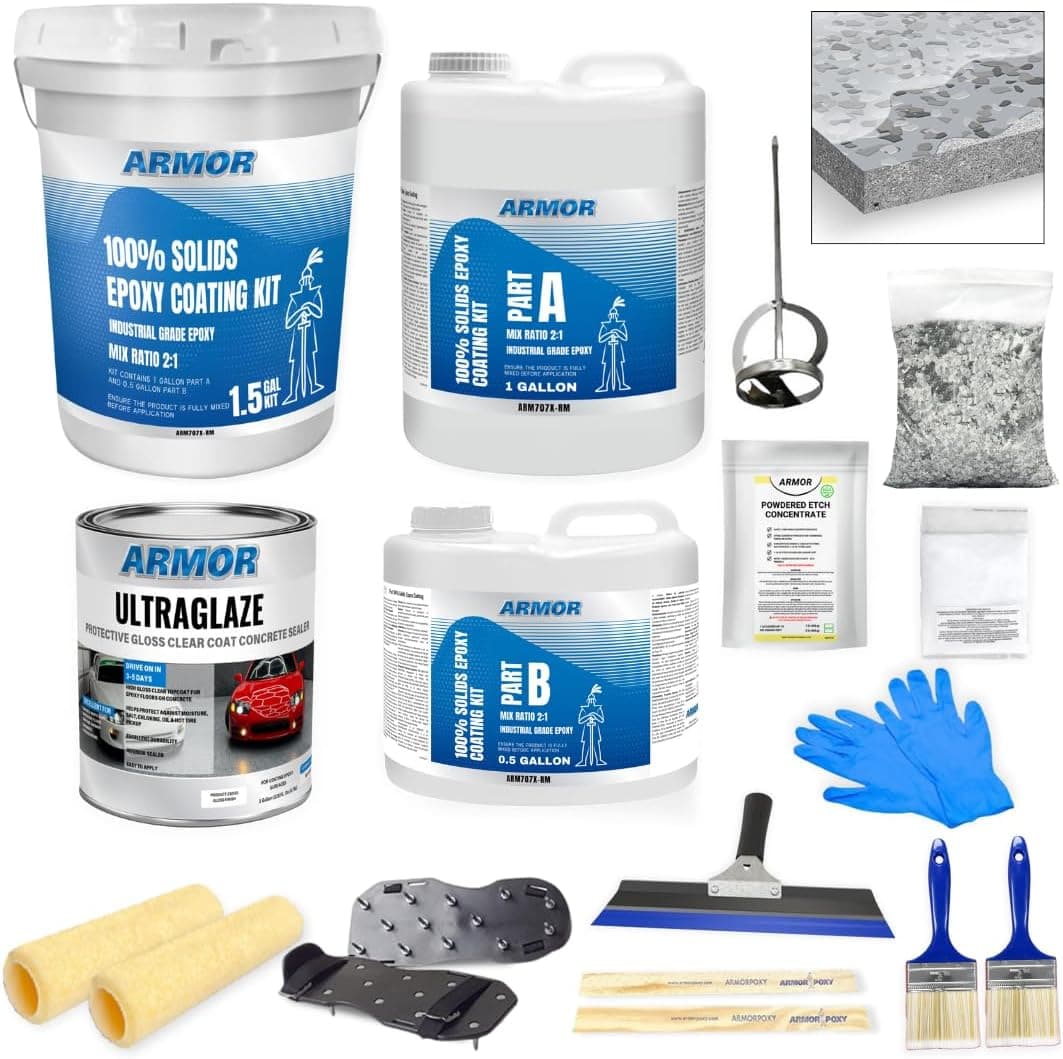
+ 100% solids epoxy builds a much thicker, tougher coat
From our guide: Best Epoxy Floor Coating
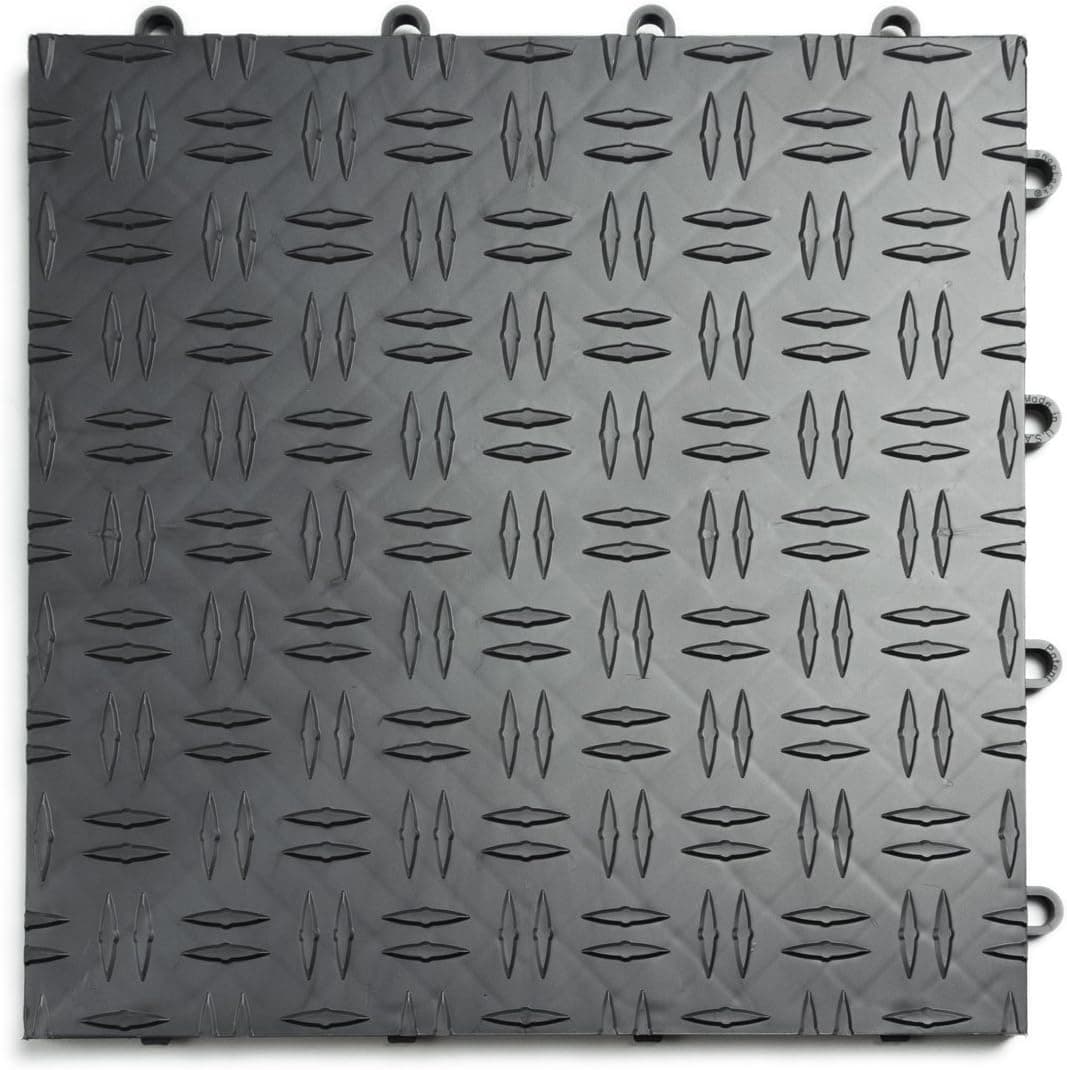
+ Diamond pattern gives a non-slip, classic garage look
From our guide: Best Garage Floor Tiles
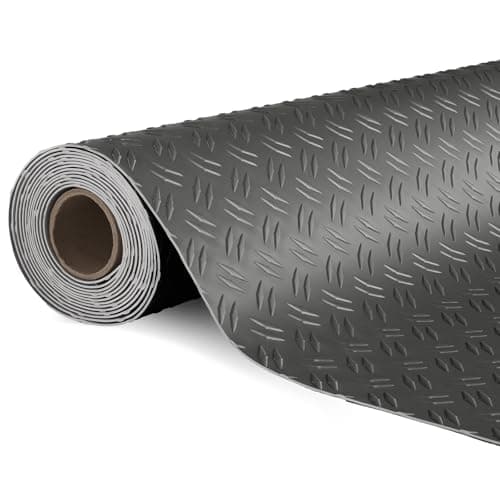
+ Same TUFFIOM 7.5 x 17 ft size, giving about 128 sq ft of roll-out coverage
From our guide: Best Garage Floor Mats
+ 2.5 Car kit covers larger garages in one purchase
From our guide: Best Epoxy Floor Coating

Before anything else, test your concrete for moisture and confirm it is a good candidate. Tape a plastic sheet to the floor overnight, and if condensation forms underneath, you likely have a moisture problem that epoxy will not stick to. Also check whether an old sealer is present, since epoxy needs to bond to bare, porous concrete. New concrete should cure fully before coating, typically for a couple of months.
Start prep by clearing the garage completely and cleaning the floor thoroughly. Sweep up all debris, then degrease any oil stains, since epoxy will not adhere over grease. Scrub the floor and let it dry. Next, repair any cracks or pits with a concrete patching compound and let those repairs cure. A smooth, sound surface is the foundation of a good finish.
Etching or grinding comes next and is not optional. Concrete needs a slightly rough, open profile so the epoxy can grip. Many kits include an acid etch solution that you apply, scrub in, and rinse thoroughly, leaving a surface with the texture of fine sandpaper. For the strongest bond, especially on dense or previously sealed concrete, mechanically grinding the surface is even better. Let the floor dry completely after etching.
With prep done, it is time to mix and apply. Epoxy is a two-part product, so combine the resin and hardener exactly per the instructions and respect the pot life, which is the limited window before the mix begins to harden. Cut in the edges with a brush, then roll the epoxy onto the floor in manageable sections, working quickly and maintaining a wet edge. If your kit includes decorative color chips, broadcast them across the wet coating before it sets. Many systems call for a clear topcoat once the base has cured for added durability and shine.
Finally, be patient with cure time. Epoxy needs time to fully harden before it can bear weight. As a general rule, wait about a day before walking on it, and several days before parking a vehicle on it, though you should always follow your product's specific timeline. Rushing this step is the fastest way to ruin an otherwise perfect job. Once it has fully cured, you will have a tough, handsome floor that wipes clean and shrugs off the abuse a garage dishes out.
Popular right now
- Best Tool Hanging SystemsBuying guide
- Best PegboardsBuying guide
- Building a Mechanic's Tool Kit From ScratchArticle
- Best Heavy-Duty ShelvingBuying guide
- Best WorkbenchesBuying guide
- Epoxy vs Tile Garage FlooringArticle
Based on the last 28 days of search and visitor data.