How to Install Overhead Storage
Published How we research
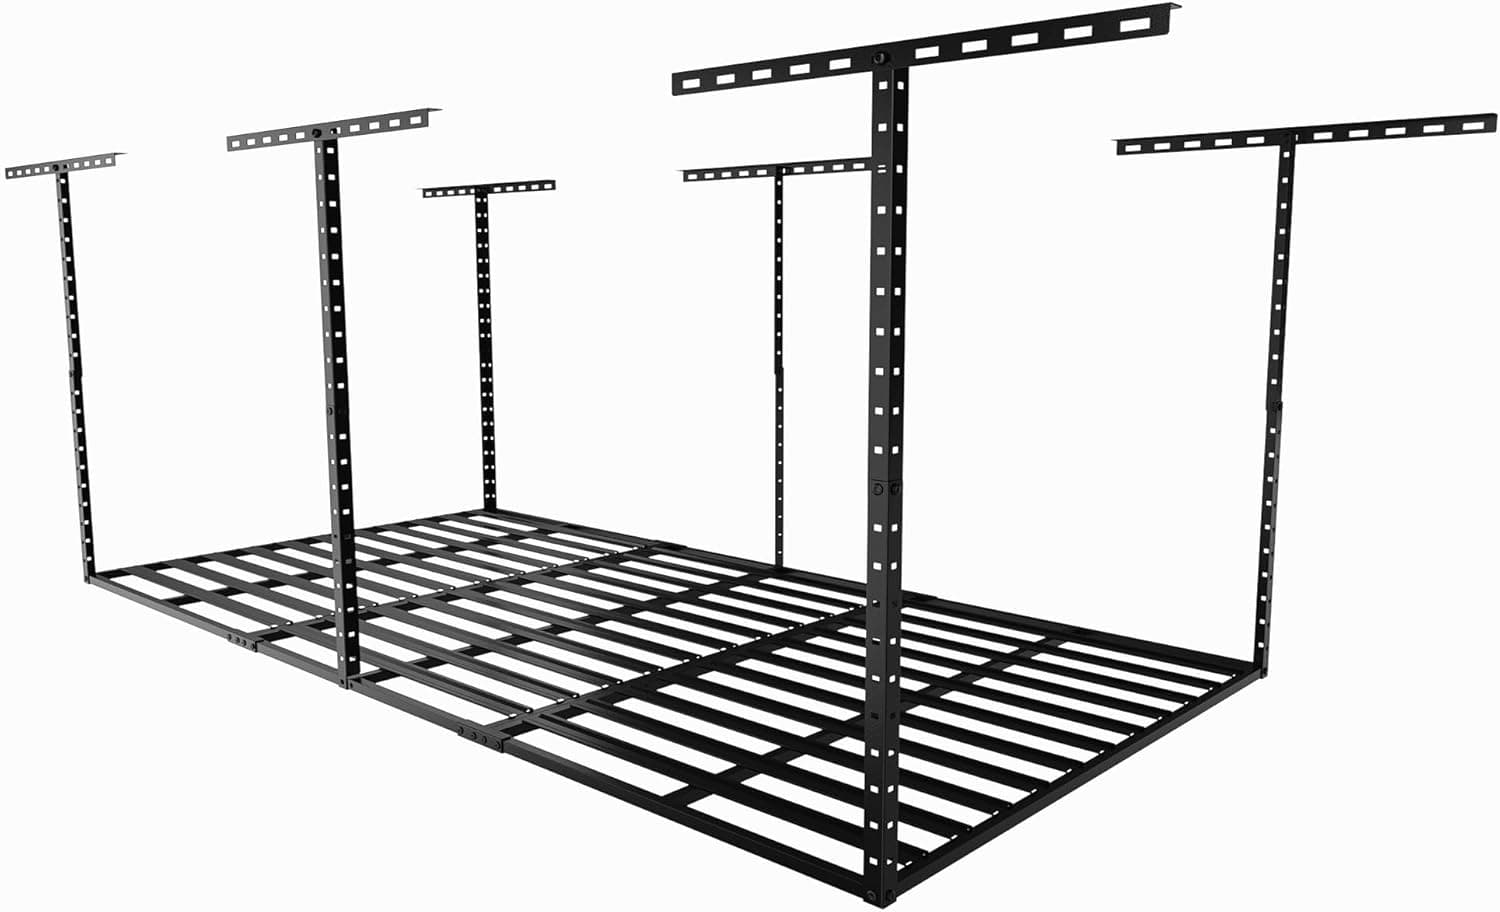
Choose a rack style, fixed or adjustable-height, that clears your garage door and opener hardware, and check its rated weight capacity before buying. Locate ceiling joists with a stud finder since the rack must be lag-bolted into solid framing, never drywall alone, and mark the centers clearly. Gather a drill, the correct socket, a level, and ideally a helper before mounting. Drill pilot holes, drive lag bolts firmly, and check the platform is level. Once up, distribute weight evenly, keep heavy items centered, use lidded bins, and shake-test the rack before trusting it. The space above your head is the most overlooked storage in the garage. That empty air over the garage door and along the ceiling can hold bins of holiday decorations, camping gear, luggage, and other seldom-used items, freeing up your walls and floor for the things you reach for often. Installing an overhead rack is a very doable weekend project, but because you are hanging weight above where you park and walk, doing it correctly matters more than usual.
Products from this article
The highest-scoring picks from the buying guides this article links to. Scores are our editorial assessment, not customer ratings.
+ 4x8 platform holds many storage totes above parked cars
From our guide: Best Overhead Garage Storage
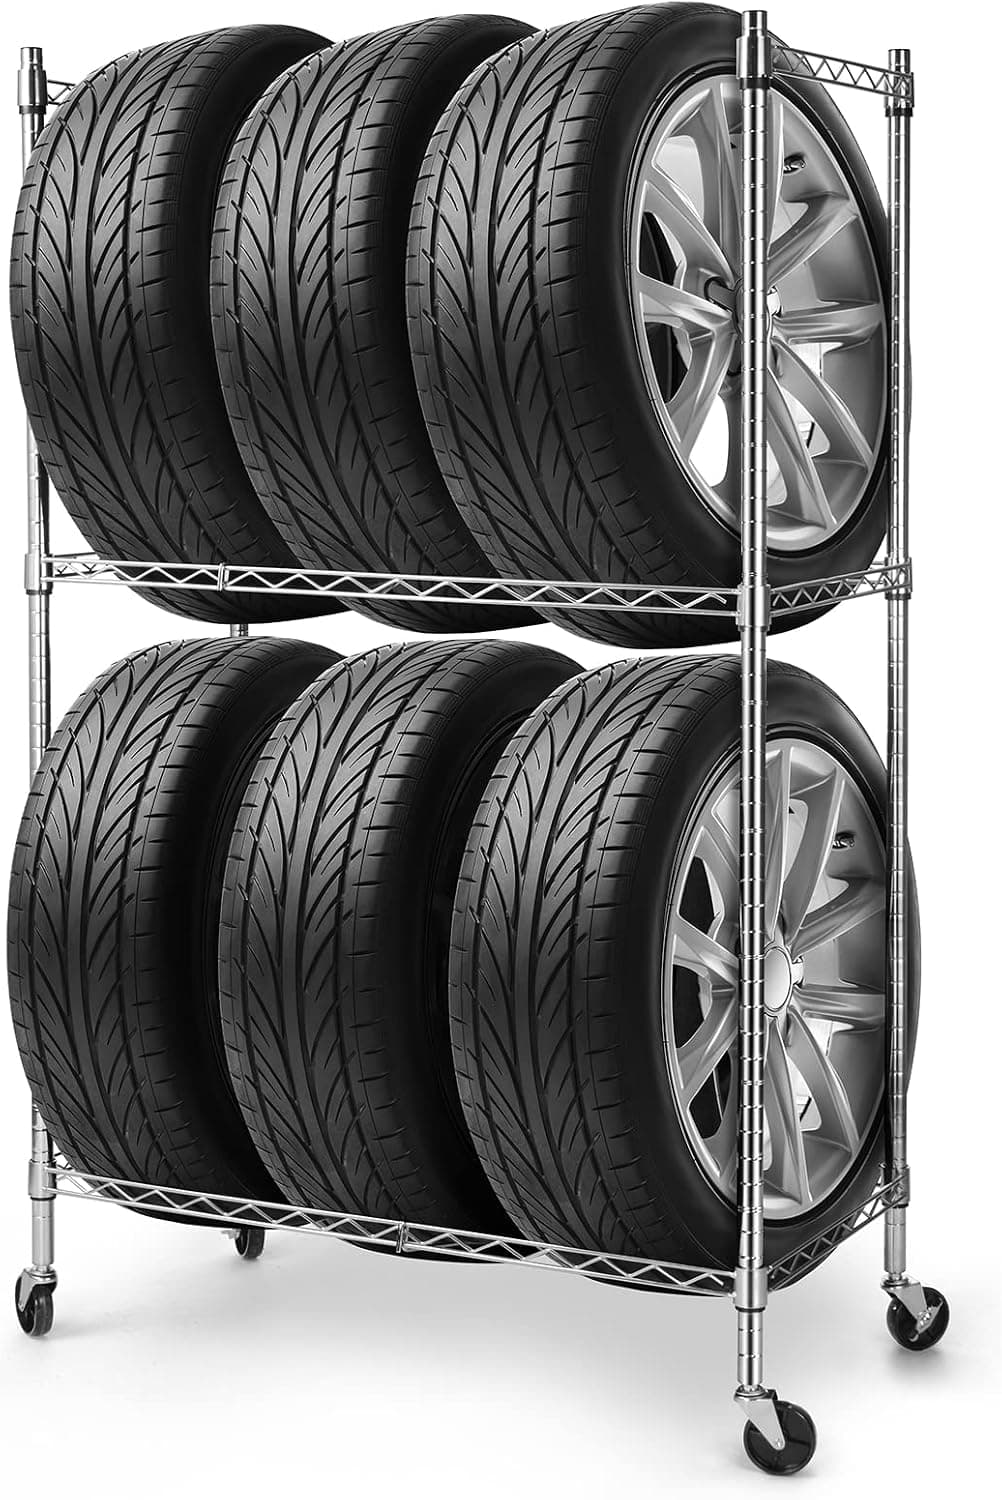
+ Holds 6 standard tires with rims on one rack
From our guide: Best Tire Storage Racks
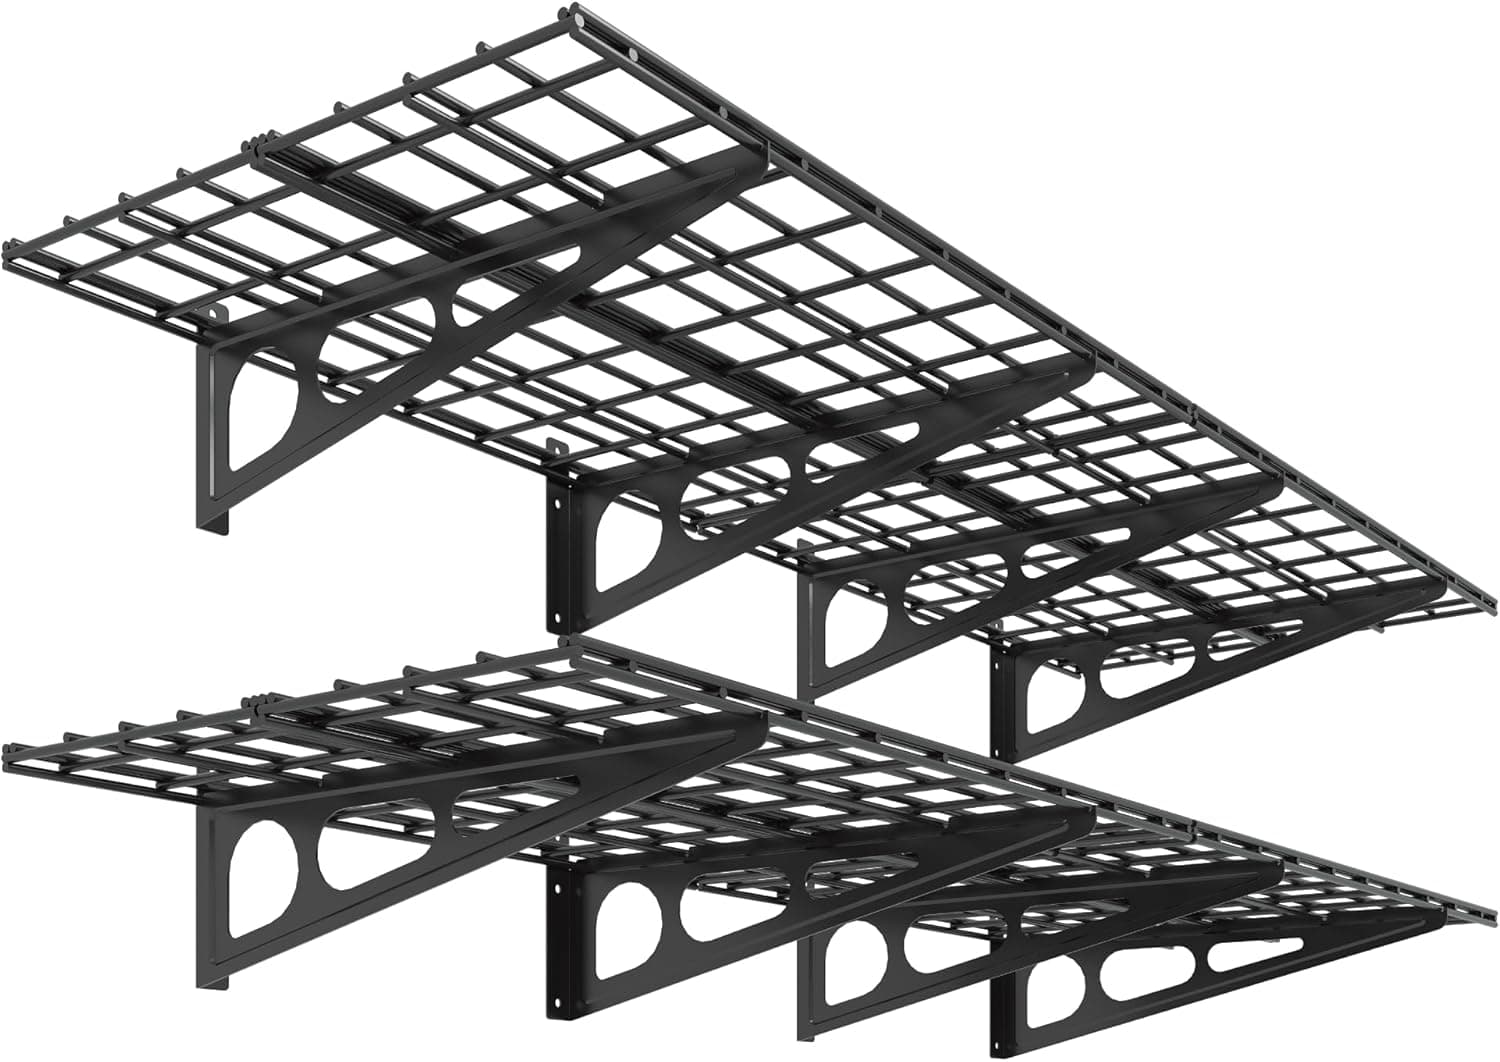
+ 1400lbs load capacity handles bins and heavy bulk items
From our guide: Best Garage Wall Shelves
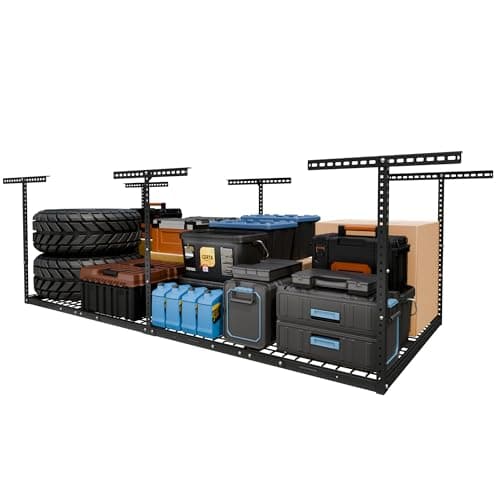
+ Rated at 750 lbs and tested to 1200 lbs, with an integrated frame and wire deck for stability.
From our guide: Best Overhead Garage Storage
Choose the right rack for your ceiling and needs
Start by choosing the right rack for your ceiling and your needs. Overhead racks come in fixed-height styles that bolt directly to the joists and adjustable-height styles that drop down on threaded rods so you can tune the clearance. Measure your ceiling height, your garage door track, and any opener hardware before you buy, because the rack must clear a fully opened door and leave headroom for you to walk underneath. Note the rack's rated weight capacity and plan to stay well within it.
Locate your ceiling joists first
The single most important step is locating your ceiling joists. A rack is only as strong as its anchor points, and it must be lag-bolted into solid framing, never into drywall alone. Use a quality stud finder to trace the joists, then confirm by driving a small test screw or checking the direction of the framing in your attic if accessible. Mark the joist centers clearly, since your mounting points have to hit them squarely.
Gather your tools before you climb the ladder
Gather your tools before you climb the ladder. You will typically need a drill, the correct socket or wrench for the lag bolts, a level, a tape measure, a pencil, and a sturdy step ladder. Having a helper is not just convenient but genuinely safer, since the rack frame can be awkward to hold overhead while you drive fasteners.
Mount the rack following instructions to the letter
Mount the rack following the manufacturer's instructions to the letter. Position the mounting brackets on your marked joists, drill pilot holes to prevent the wood from splitting, and drive the lag bolts firmly so the rack sits tight against the ceiling with no gap. Check that the platform is level as you go. Uneven mounting puts unequal stress on the fasteners and lets bins slide, so take the time to get it flat.
Load it thoughtfully once it's up
Once the rack is up, load it thoughtfully. Distribute weight evenly rather than piling everything on one side, keep the heaviest items centered, and use bins with lids so nothing can shift or fall. Store only lightweight, low-frequency items overhead, and always respect the weight limit. Give the rack a firm shake test before you trust it with your gear, and periodically check that the bolts remain snug over time.
Frequently asked questions
Can I mount overhead garage storage into drywall? No. A rack must be lag-bolted into solid ceiling joists, never into drywall alone, since drywall cannot support the weight of loaded bins.
How do I find ceiling joists for overhead garage storage? Use a quality stud finder to trace the joists, then confirm by driving a small test screw or checking the framing direction in your attic if it's accessible.
How much weight can overhead garage storage racks hold? It depends on the rack's rated capacity, which you should check before buying and never exceed. Distribute weight evenly and keep heavier items centered over the mounting points.
What should I check before installing an overhead garage rack? Measure your ceiling height, garage door track, and opener hardware to ensure the rack clears a fully opened door and leaves headroom to walk underneath.
Quick answers
Can I install overhead garage storage myself?
Many ceiling racks are DIY friendly if you can locate joists and lift the rack safely with a helper. Bolt into joists, not drywall alone, and respect the weight rating.
Popular right now
- Best Tool Hanging SystemsBuying guide
- Best PegboardsBuying guide
- Building a Mechanic's Tool Kit From ScratchArticle
- Best Heavy-Duty ShelvingBuying guide
- Best WorkbenchesBuying guide
- Epoxy vs Tile Garage FlooringArticle
Based on the last 28 days of search and visitor data.