How to Light a Garage Properly for Work and Safety
Published How we research
Most garages are badly lit, usually by a single bulb dangling from the ceiling that leaves the corners in gloom and casts a shadow over whatever you are working on. Good garage lighting is not expensive anymore, but it does require thinking in terms of total light output, placement, and color quality rather than just screwing in a brighter bulb. Get those three right and the space becomes safer, more comfortable, and far more pleasant to spend time in.
Products from this article
The highest-scoring picks from the buying guides this article links to. Scores are our editorial assessment, not customer ratings.
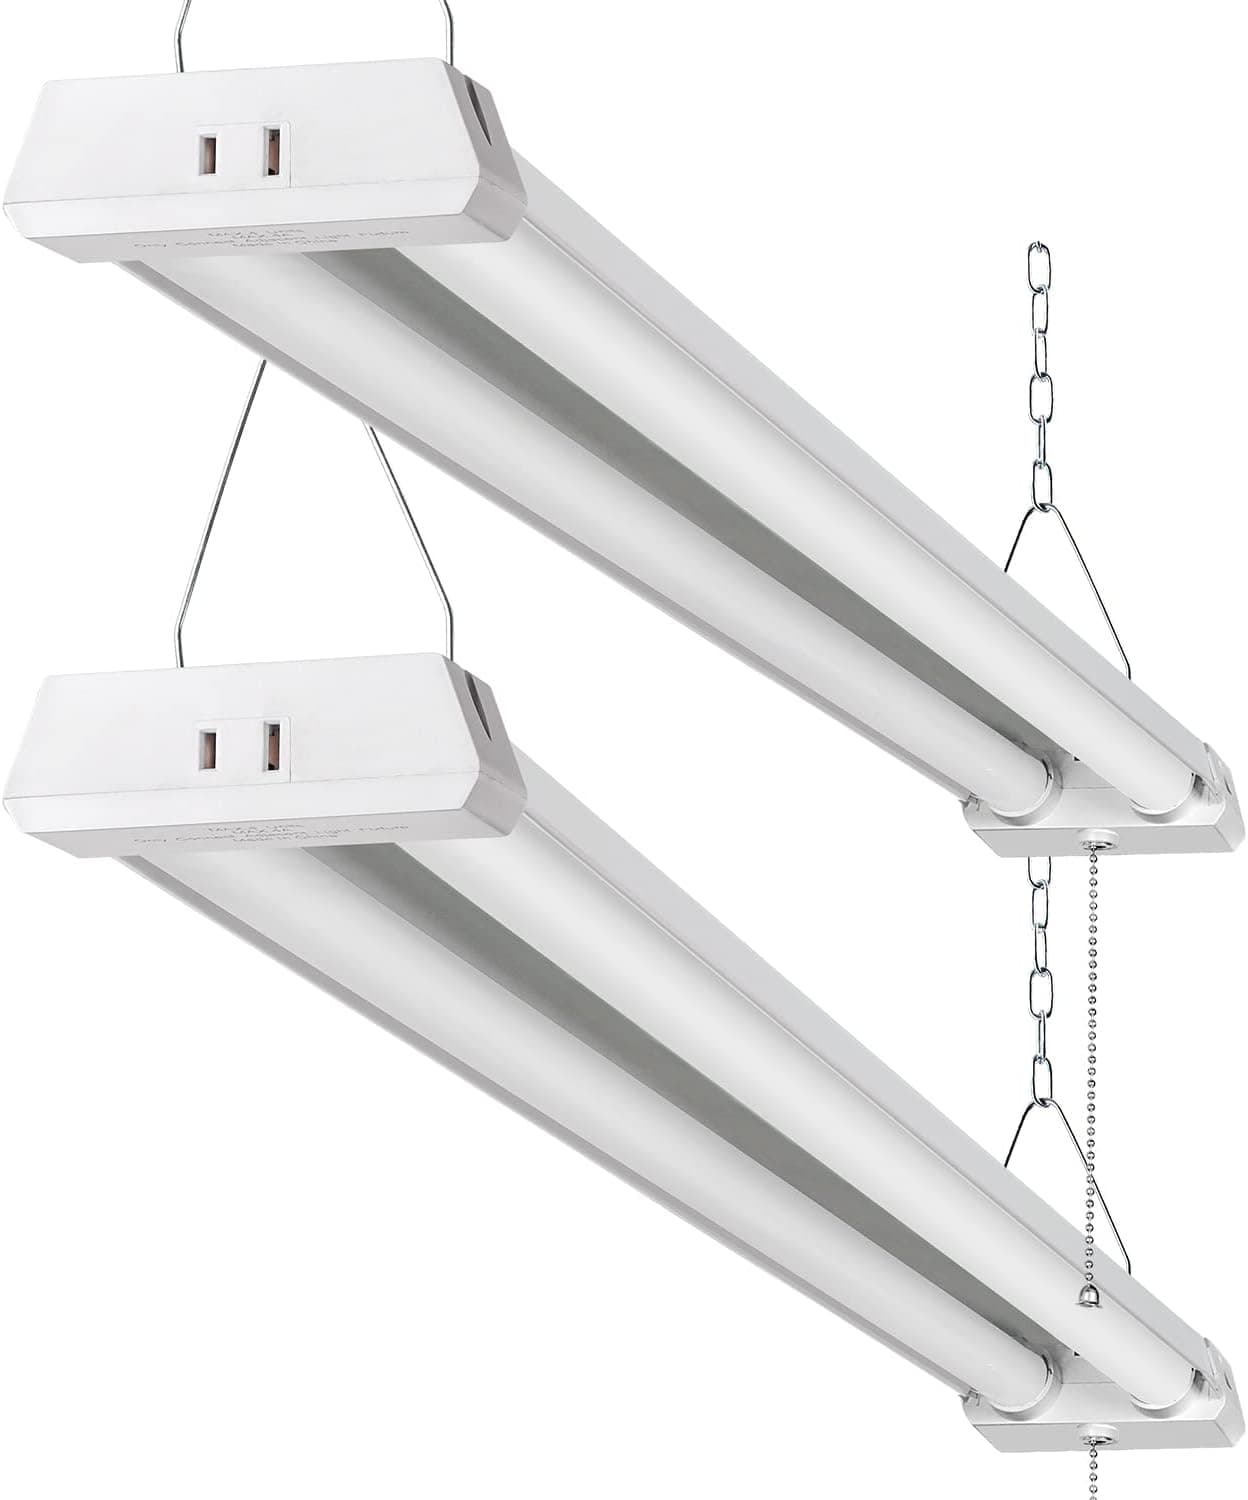
+ 4 Pack covers a typical two-car garage ceiling
From our guide: Best LED Shop Lights
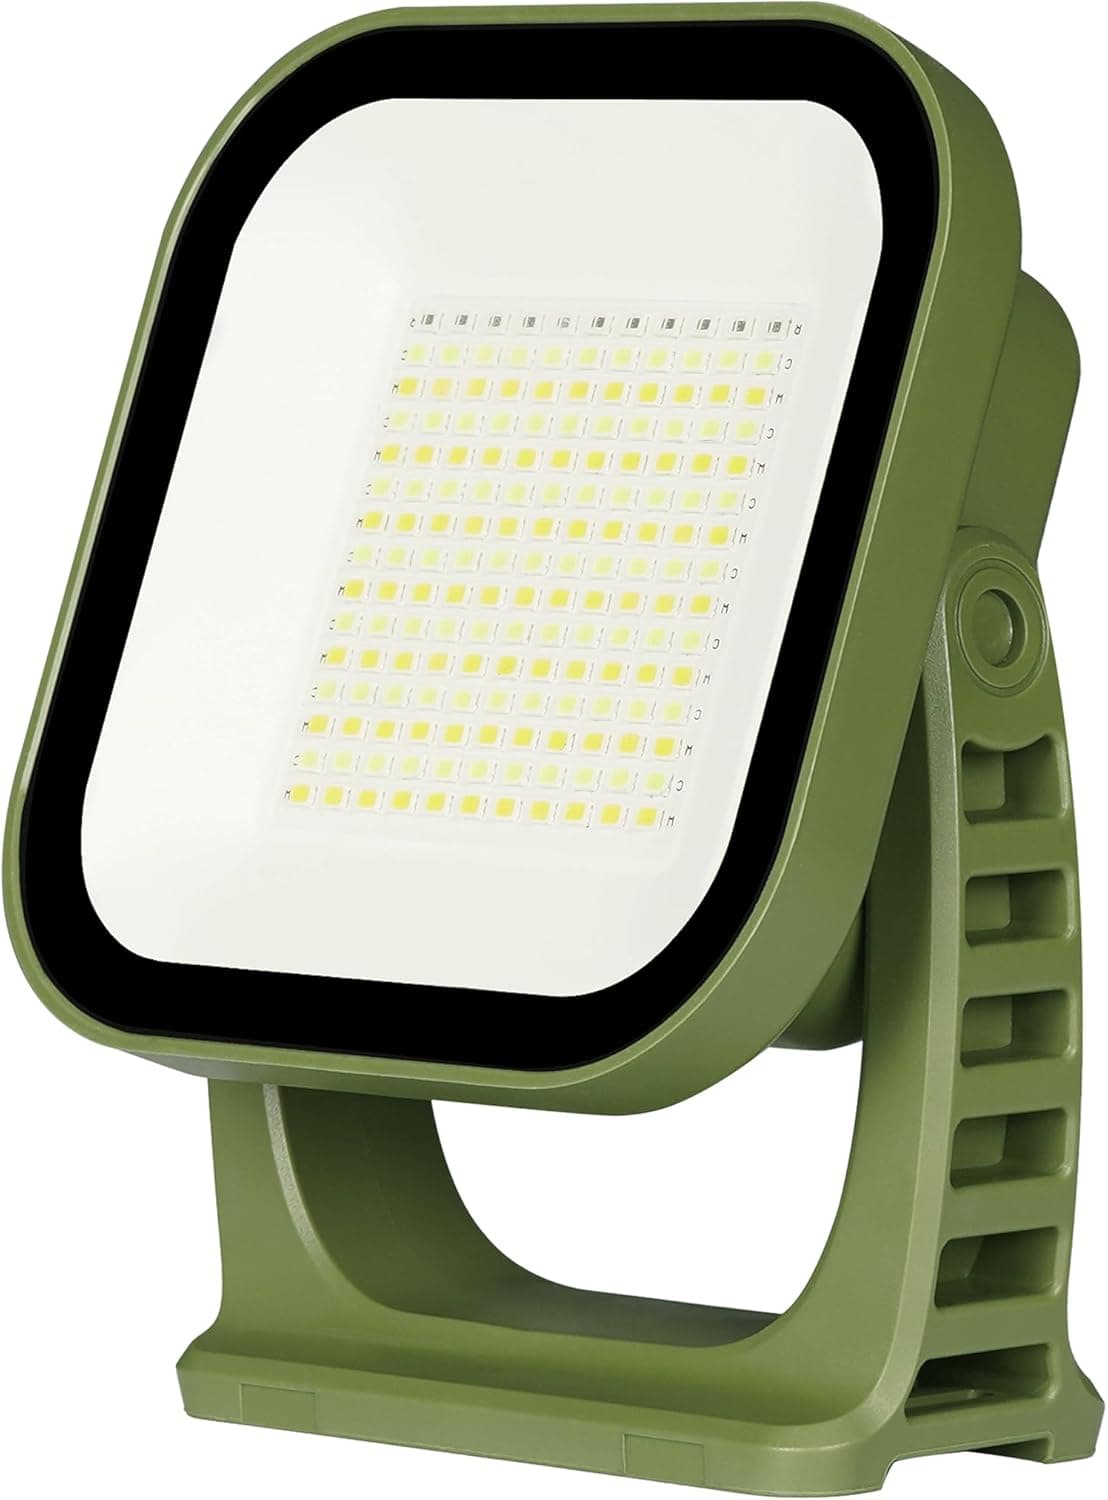
+ USB-C charging uses the same cable as phones and laptops
From our guide: Best Garage Work Lights
+ Deep and shallow sockets reach recessed nuts and studs
From our guide: Best Mechanic Tool Sets
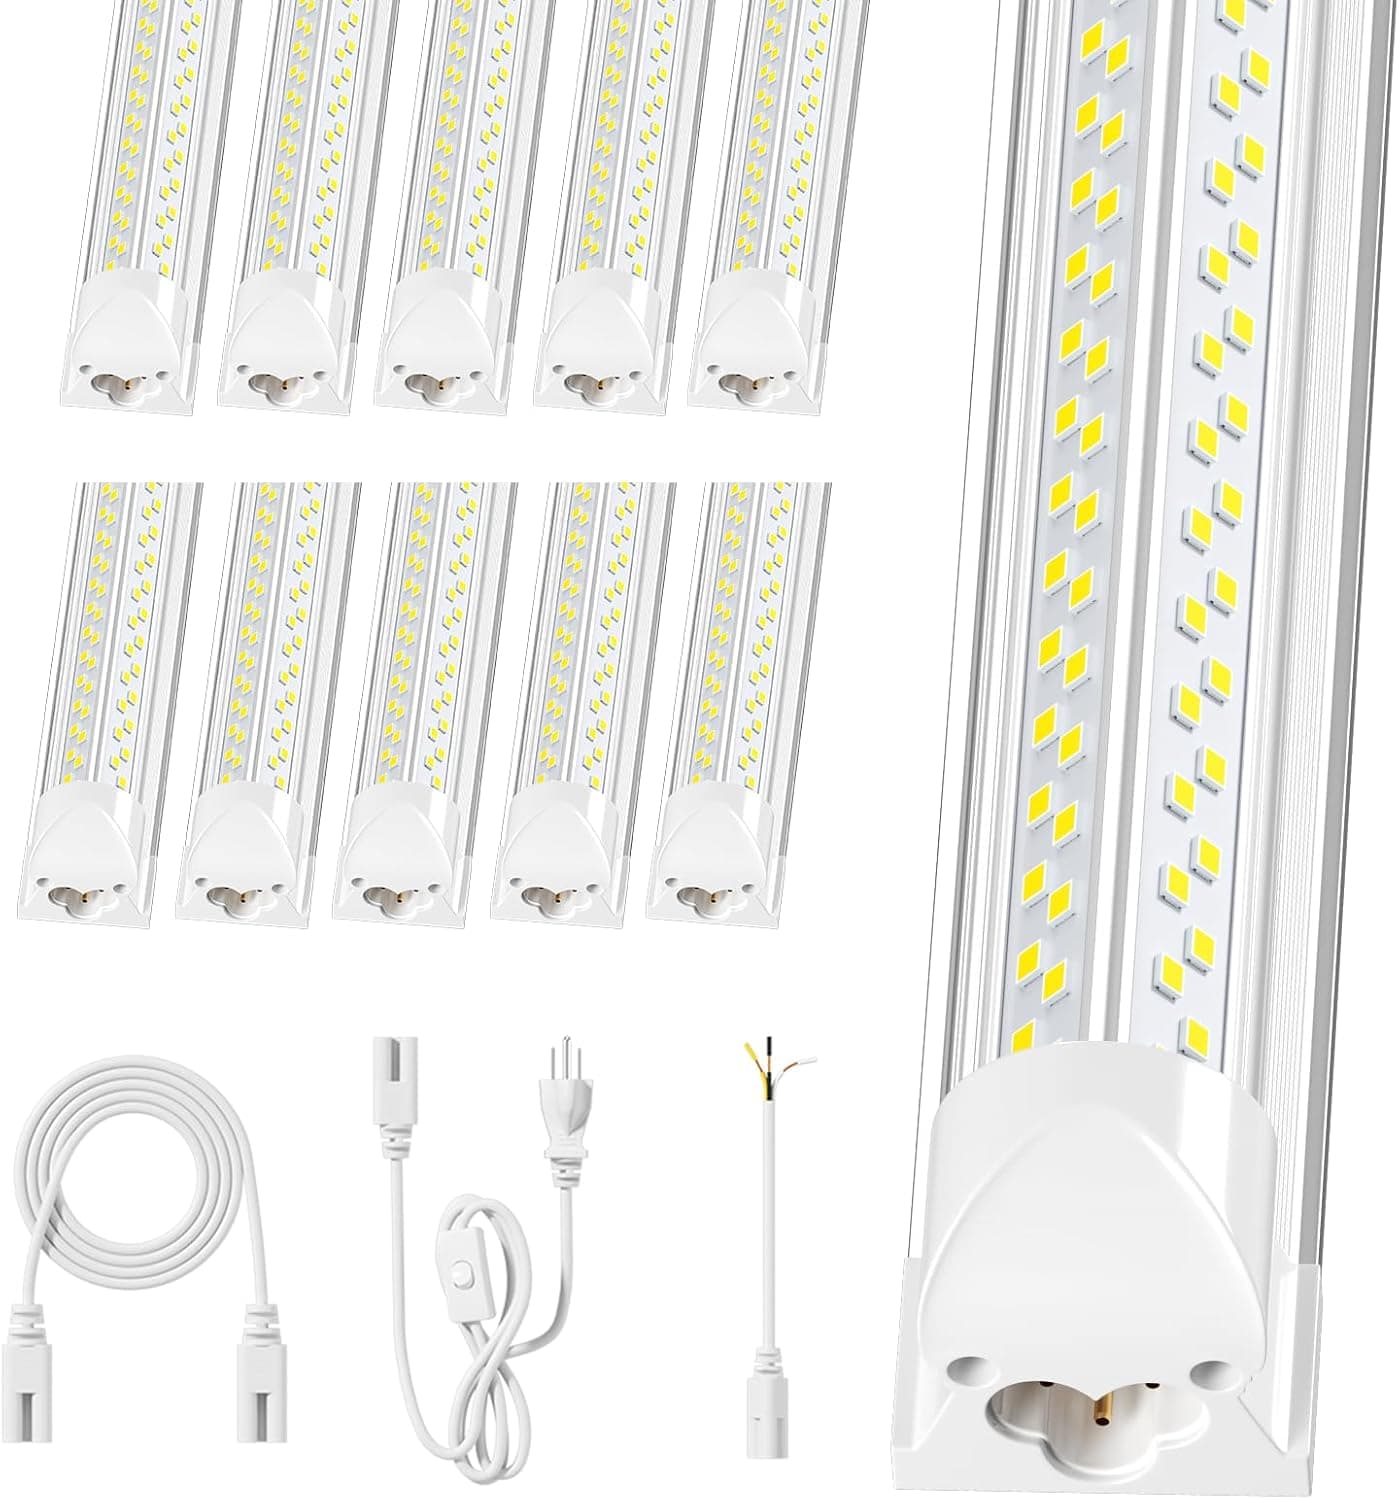
+ 10-Pack outfits a large shop or multi-bay garage
From our guide: Best LED Shop Lights
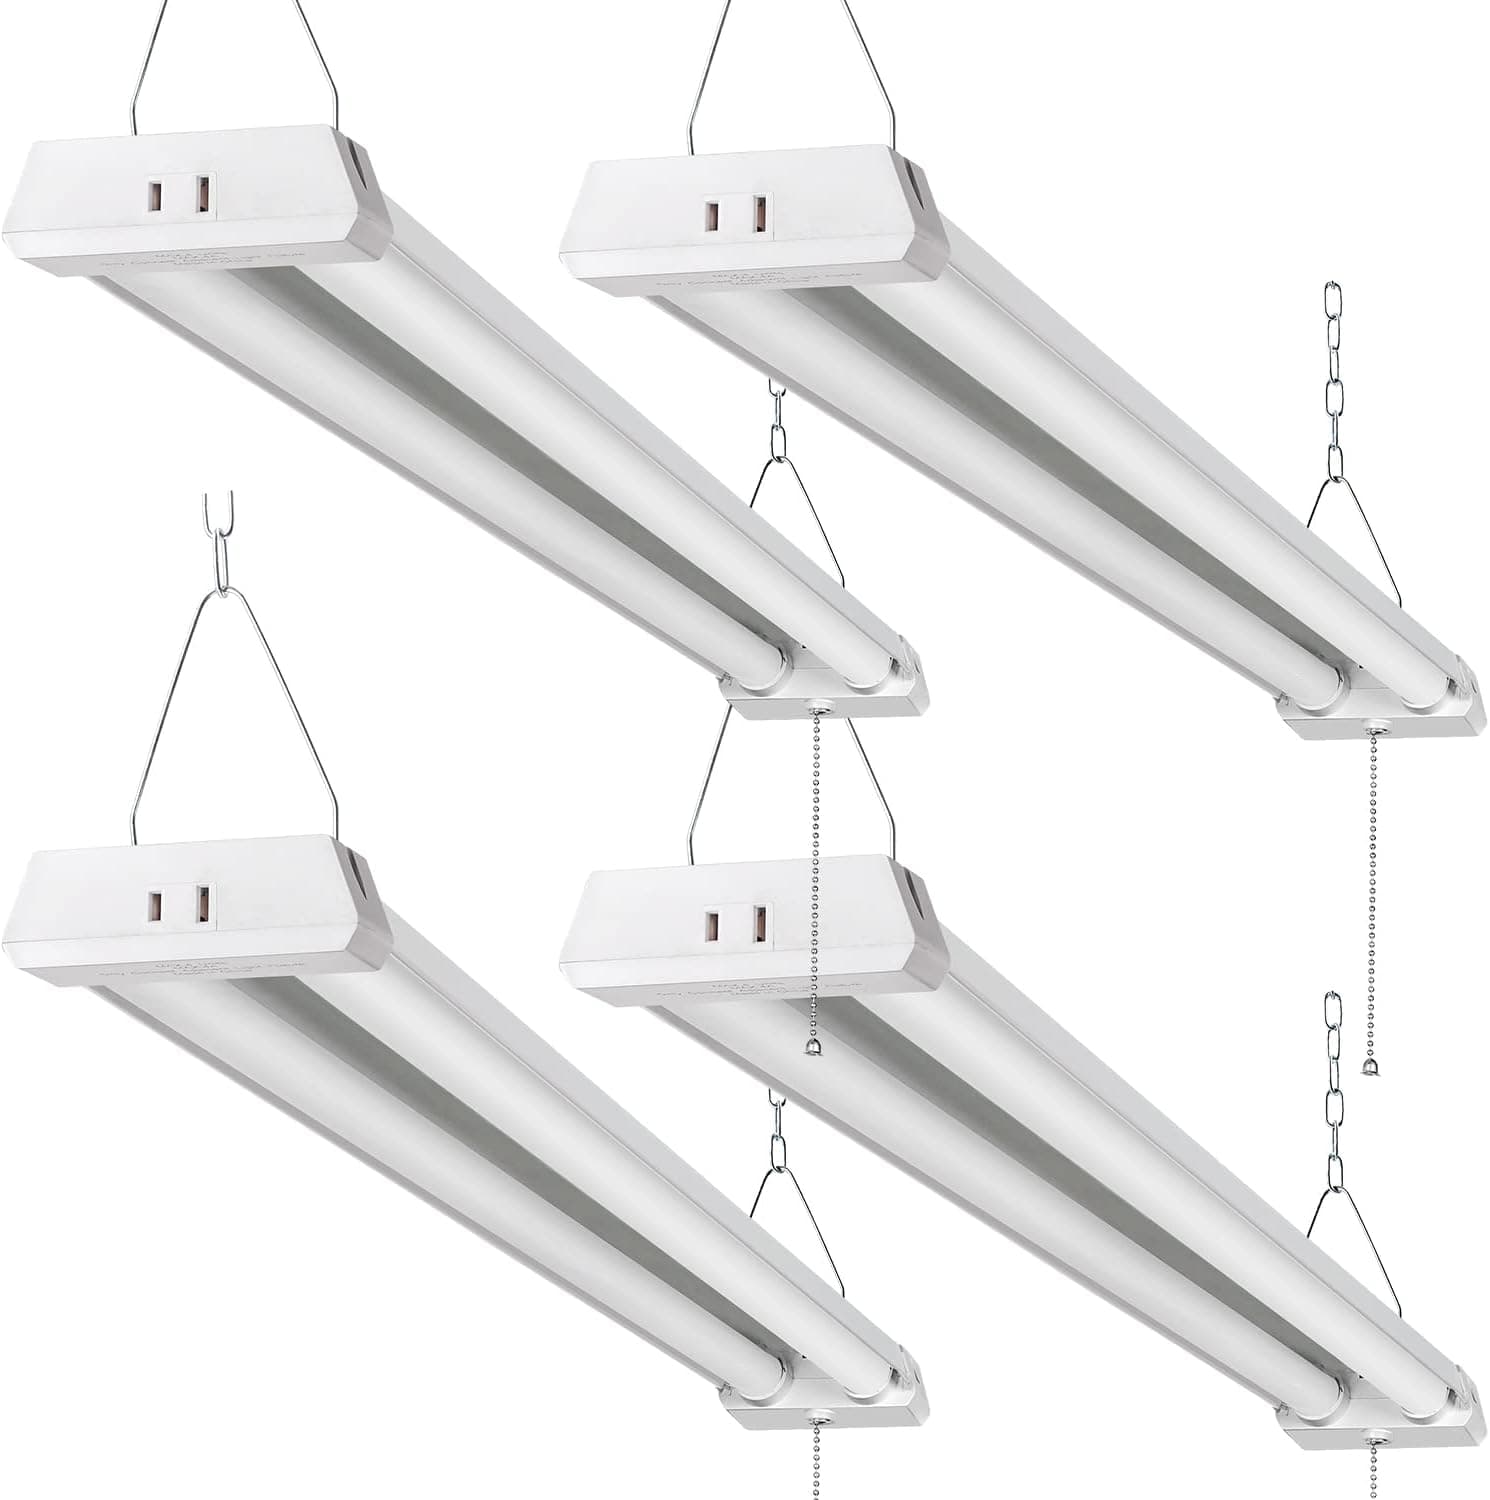


Start with a lumen target rather than watts, since LED efficiency has made wattage meaningless as a brightness guide. For general garage work, aim for roughly 50 lumens per square foot, and push toward 75 or more if you do detailed work like electronics, painting, or fine woodworking. A two-car garage of about 400 square feet therefore wants somewhere between 20,000 and 30,000 lumens total. That sounds like a lot, but modern LED shop lights each put out 4,000 to 5,000 lumens, so five or six fixtures spread across the ceiling hit the mark easily.
Placement matters as much as raw output because the enemy in a workshop is shadow. A single central fixture always leaves you working in your own shadow when you lean over the bench. Instead, distribute fixtures in a grid so light arrives from multiple directions and fills in shadows. Run rows of linked LED shop lights parallel to the garage door, spaced evenly, and add a fixture directly above the main workbench and one over the vehicle bay. Overlapping pools of light from several angles are what eliminate the dark spots that cause mistakes and injuries.
Color temperature shapes how the space feels and how well you see detail. Measured in Kelvin, warmer light around 3000K feels cozy but muddies color perception, while cooler light around 4000K to 5000K reads as clean daylight and reveals true colors and fine detail. For a working garage, 5000K is the sweet spot, bright and neutral without the harsh blue of higher temperatures. Just as important is the color rendering index, or CRI. Choose fixtures rated CRI 80 or higher, ideally 90 plus, so paint colors, wire insulation stripes, and finish flaws all appear accurately.
General overhead light handles most tasks, but detailed jobs demand dedicated task lighting. Add an under-cabinet LED strip above the workbench, a magnetic or clamp-mounted work light you can aim into an engine bay, and a headlamp for crawling under vehicles or into cabinets. The principle is simple: bring focused light close to the work so you are not relying on ceiling fixtures to reach into a recess. A cheap, bright, rechargeable work light is one of the most-used tools in any serious garage.
Do not forget the practical details that make lighting reliable. In cold climates, choose LEDs rated for low-temperature starting, since some fixtures flicker or fail to ignite in an unheated garage below freezing. Put lights on a wall switch by the entry door, and consider a motion sensor so your hands full of tools or groceries never have to fumble for a switch. Link fixtures together so one switch controls the whole array. If your ceiling has few circuits, plug-in linkable shop lights let you daisy-chain many fixtures off a single outlet.
Finally, treat natural light and glare as part of the plan. A window or two dramatically improves daytime comfort and cuts electricity use, but position workbenches to avoid staring into direct sun. Matte, light-colored walls and ceiling bounce artificial light around and can effectively boost brightness by a third for the price of a can of paint. Layered properly, general, task, and natural light turn a dim cave into a space where you can see clearly, work safely, and actually enjoy being.
Popular right now
- Best Tool Hanging SystemsBuying guide
- Best PegboardsBuying guide
- Building a Mechanic's Tool Kit From ScratchArticle
- Best Heavy-Duty ShelvingBuying guide
- Best WorkbenchesBuying guide
- Epoxy vs Tile Garage FlooringArticle
Based on the last 28 days of search and visitor data.