How to Build a Workbench
Published How we research
Size the bench around six feet long and two feet deep at hip height, using two-by-fours for the frame and thick plywood, doubled up if possible, for the top. Build two rectangular frames, one for the tabletop perimeter and one lower for a shelf, attach legs squared with a level, then fasten the plywood top with screws and glue, shimming for an uneven floor. Finish by customizing with a pegboard back, a vise, or a power strip along the edge, plus a coat of finish to resist stains. A good workbench is the anchor of any garage workshop. It gives you a flat, stable surface for repairs, assembly, and hobby projects, and it doubles as a home for your most-used tools. The best part is that a rock-solid bench is one of the most beginner-friendly builds out there. With common lumber and a handful of tools, you can put together a bench that will outlast most store-bought models.
Products from this article
The highest-scoring picks from the buying guides this article links to. Scores are our editorial assessment, not customer ratings.
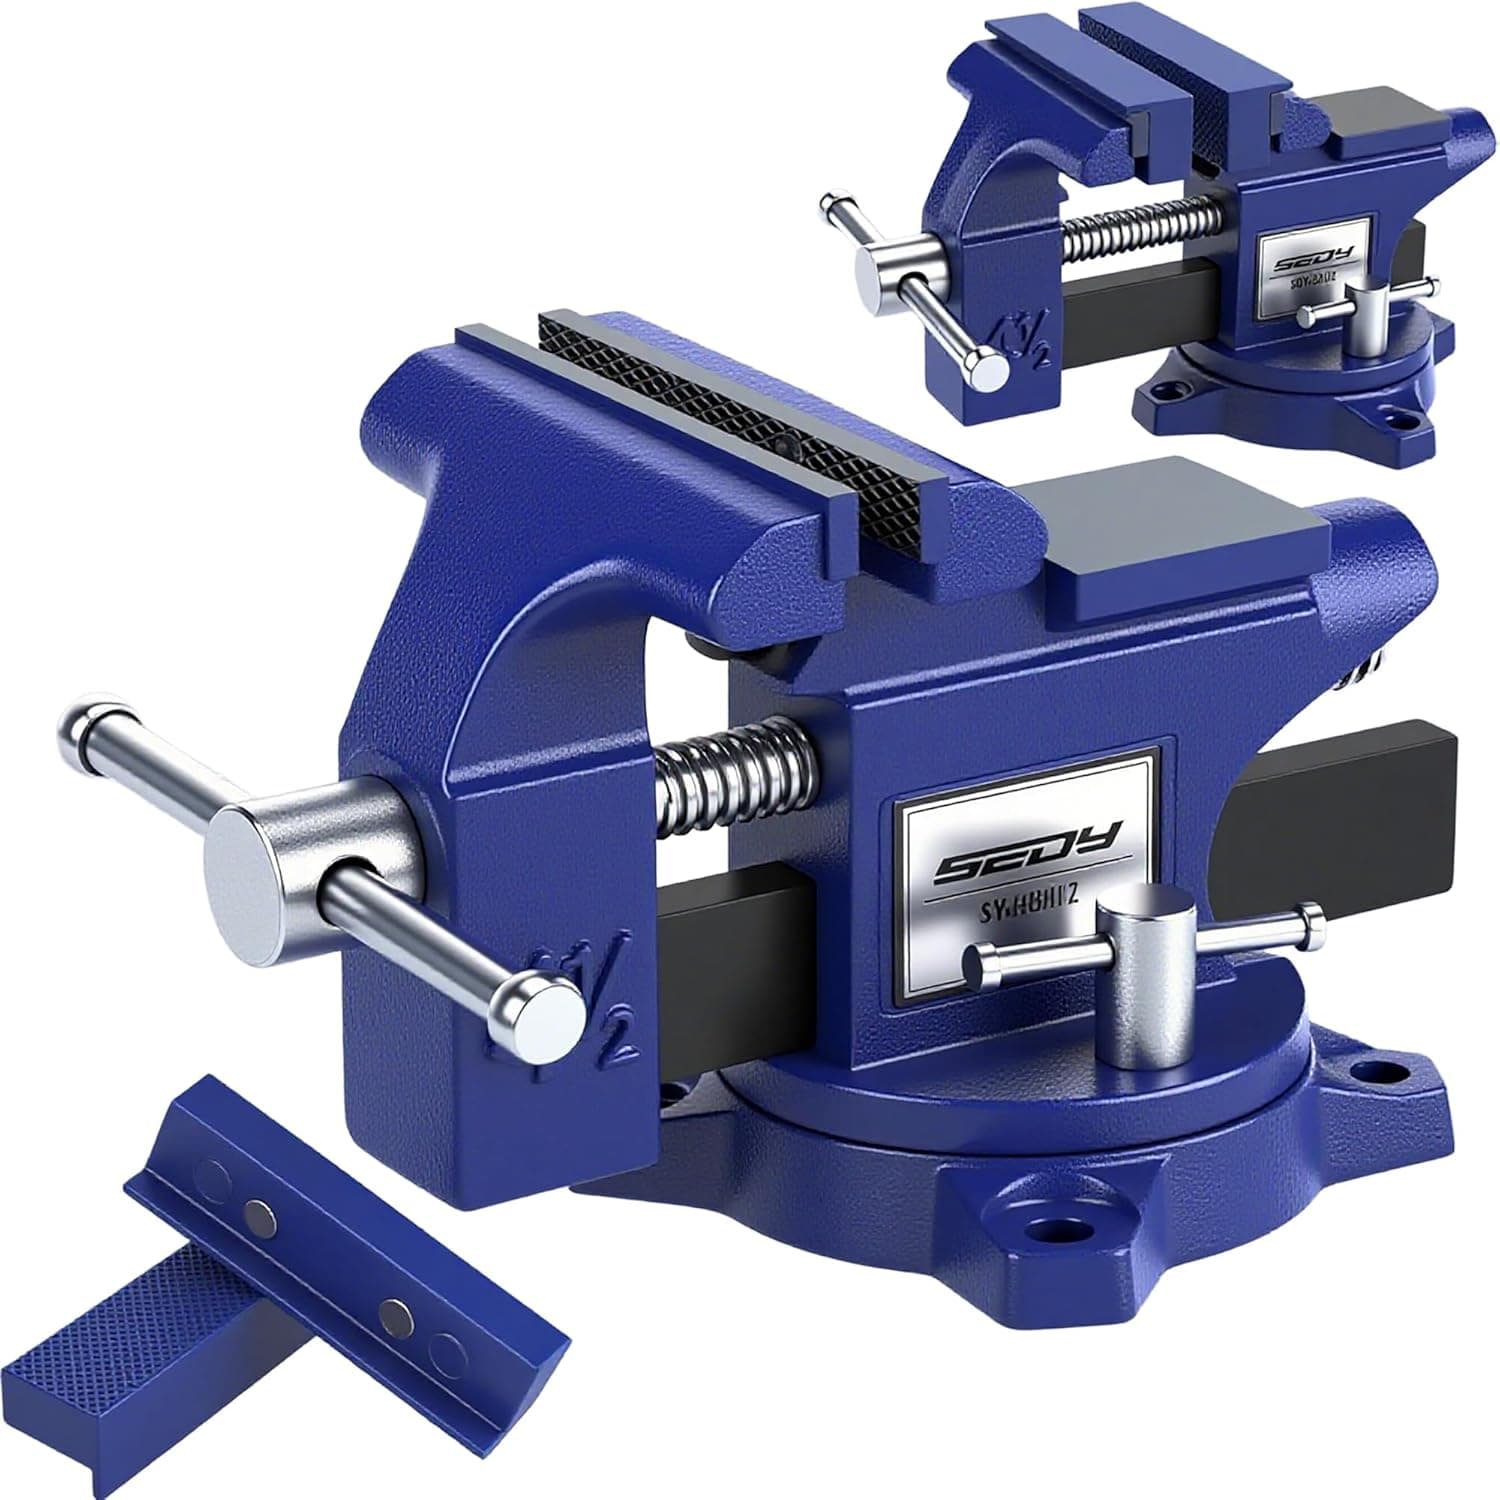
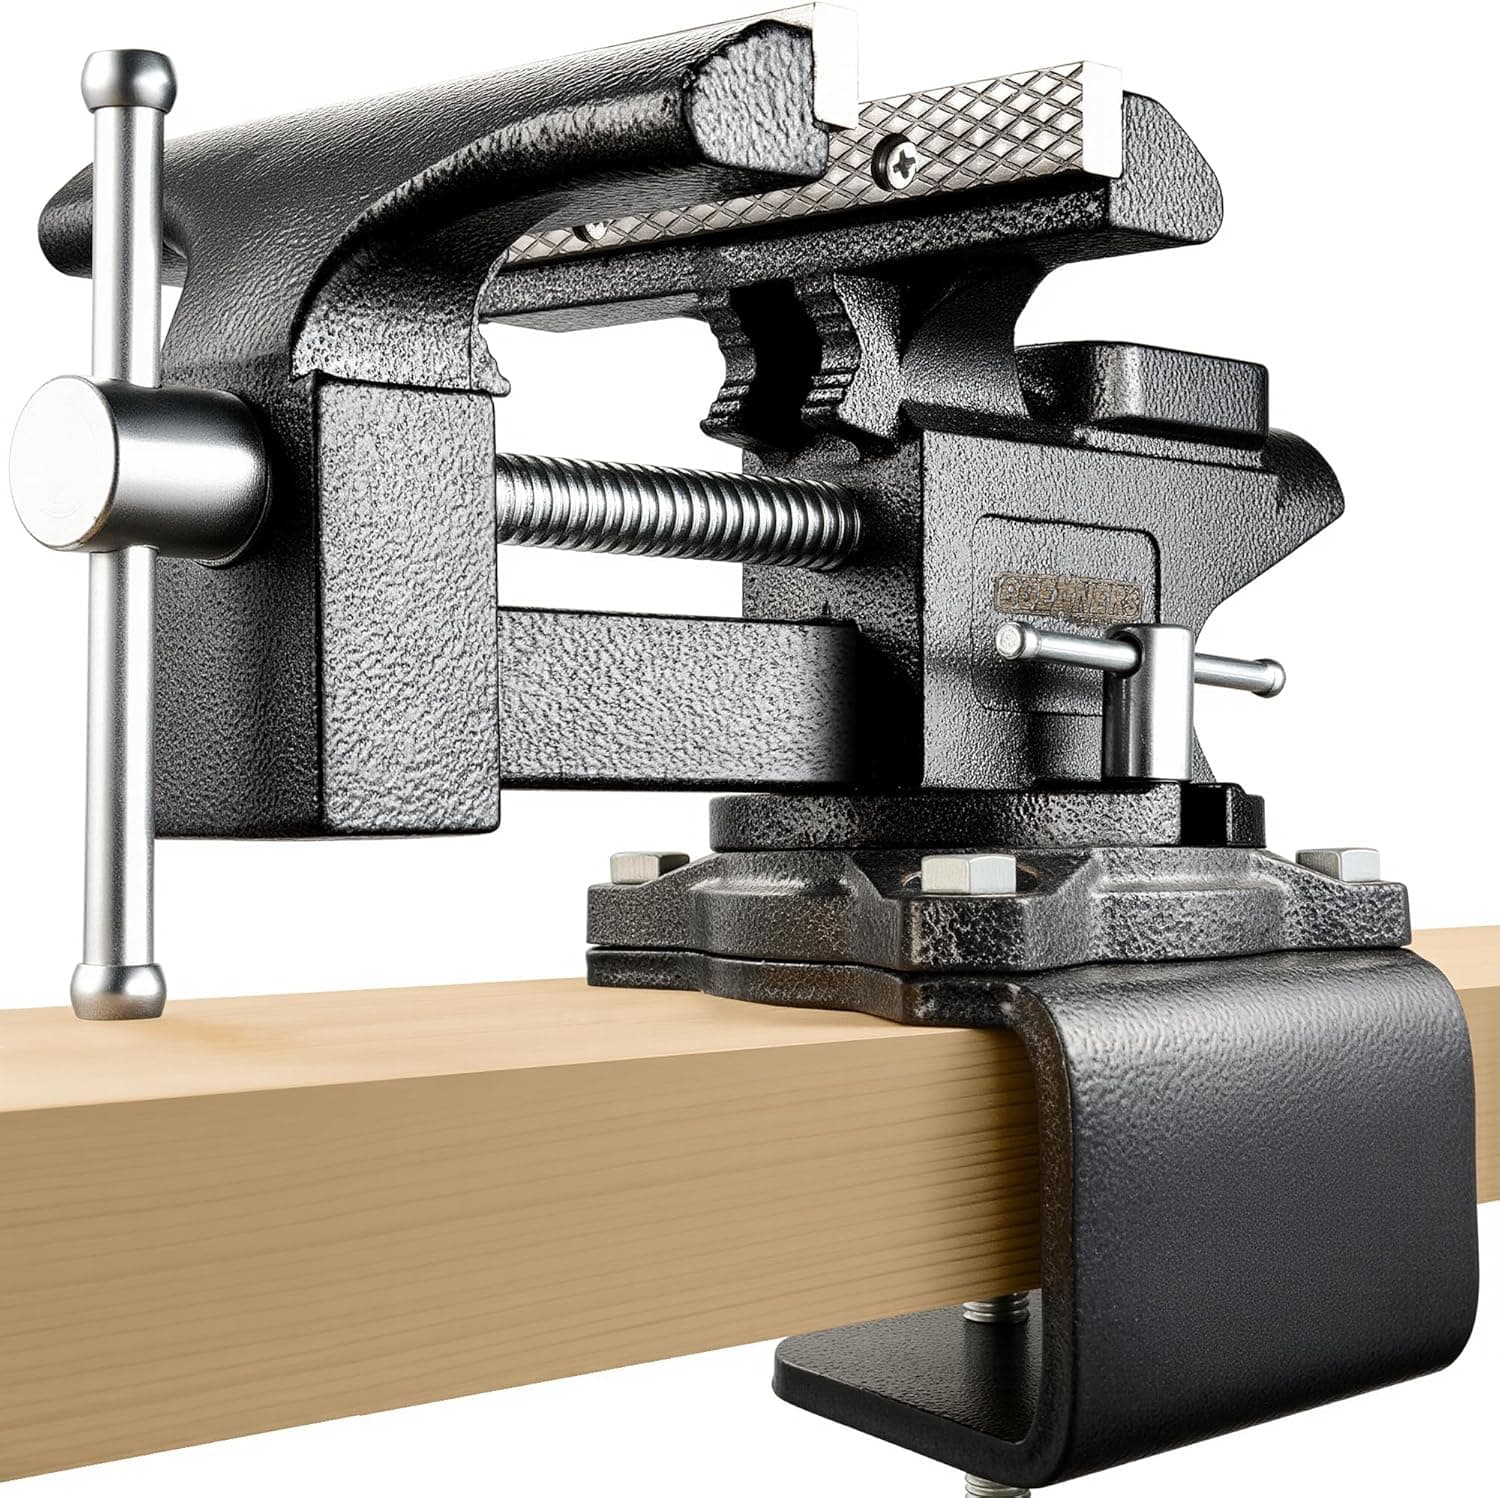
+ 6-Inch jaws clamp wider stock than typical home bench vises
From our guide: Best Garage Vises
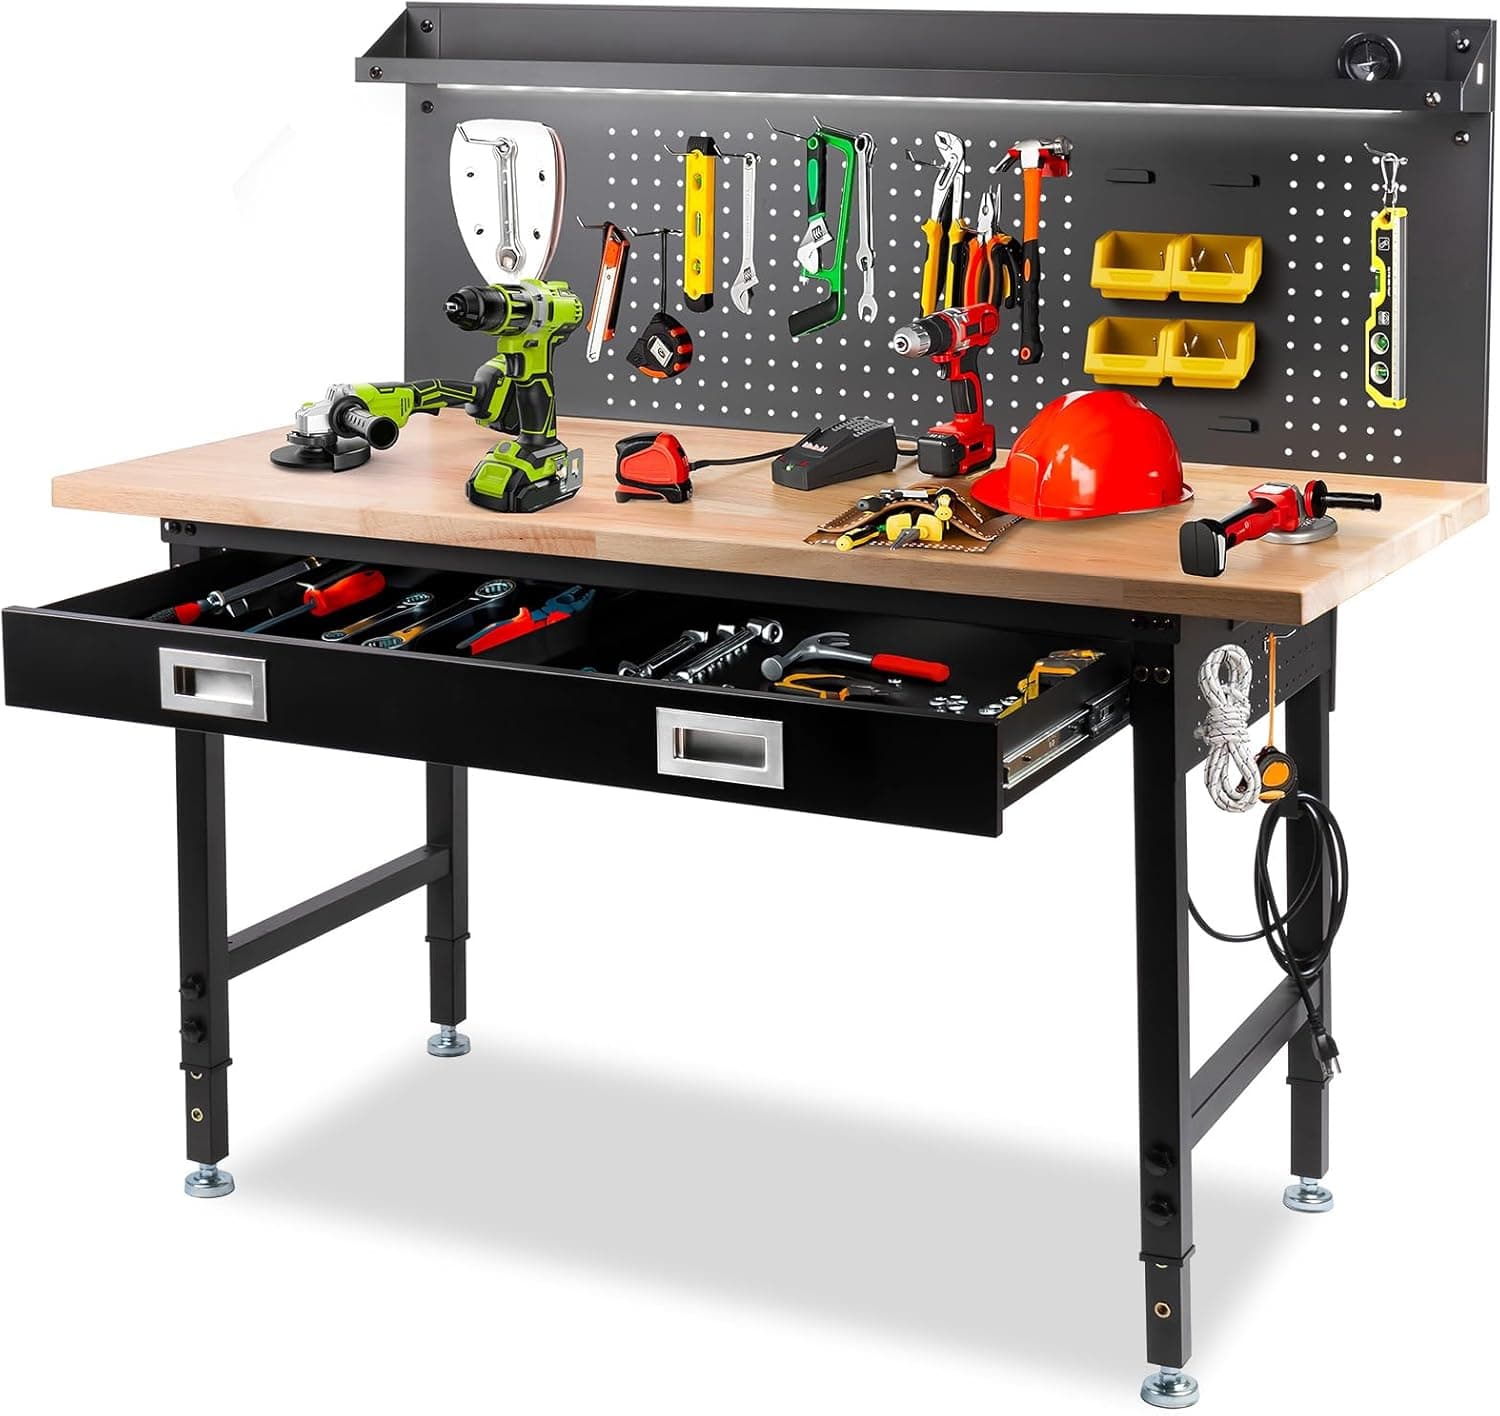
+ Strip light and large pegboard create a well-lit tool wall
From our guide: Best Workbenches
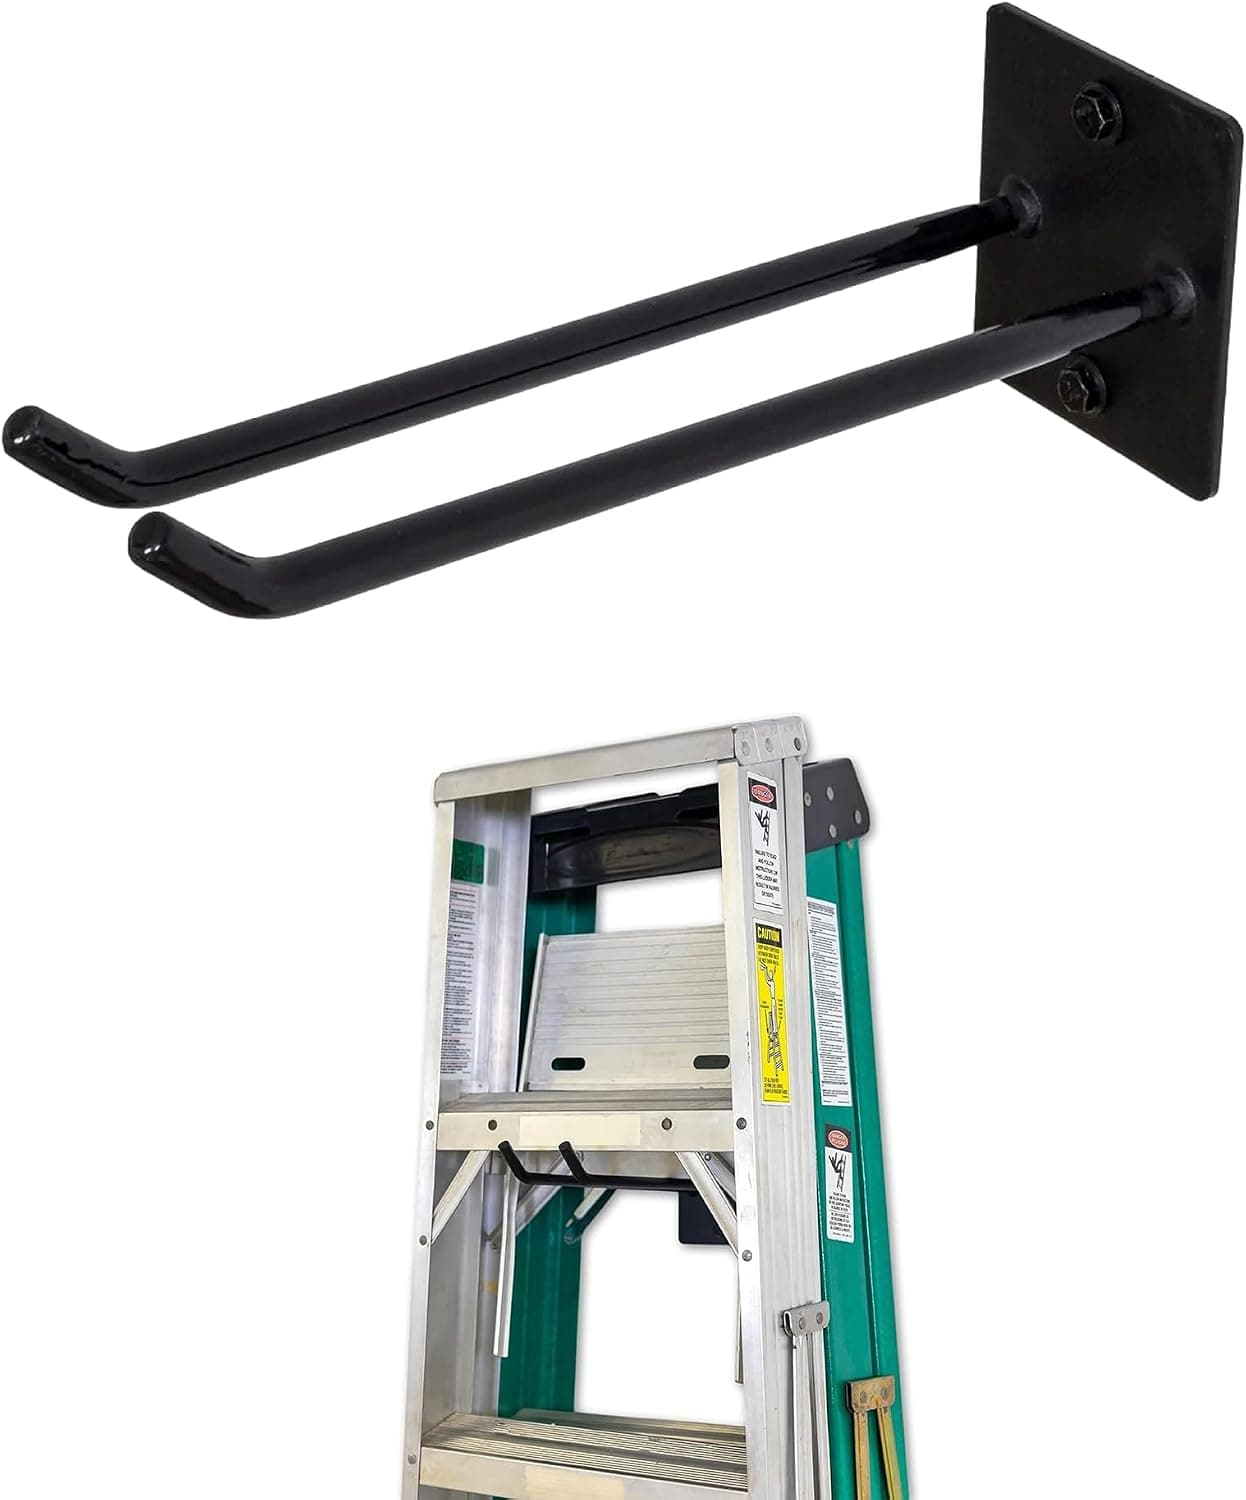
+ Holds 2-3 ladders in one compact wall mount
From our guide: Best Ladder Hooks
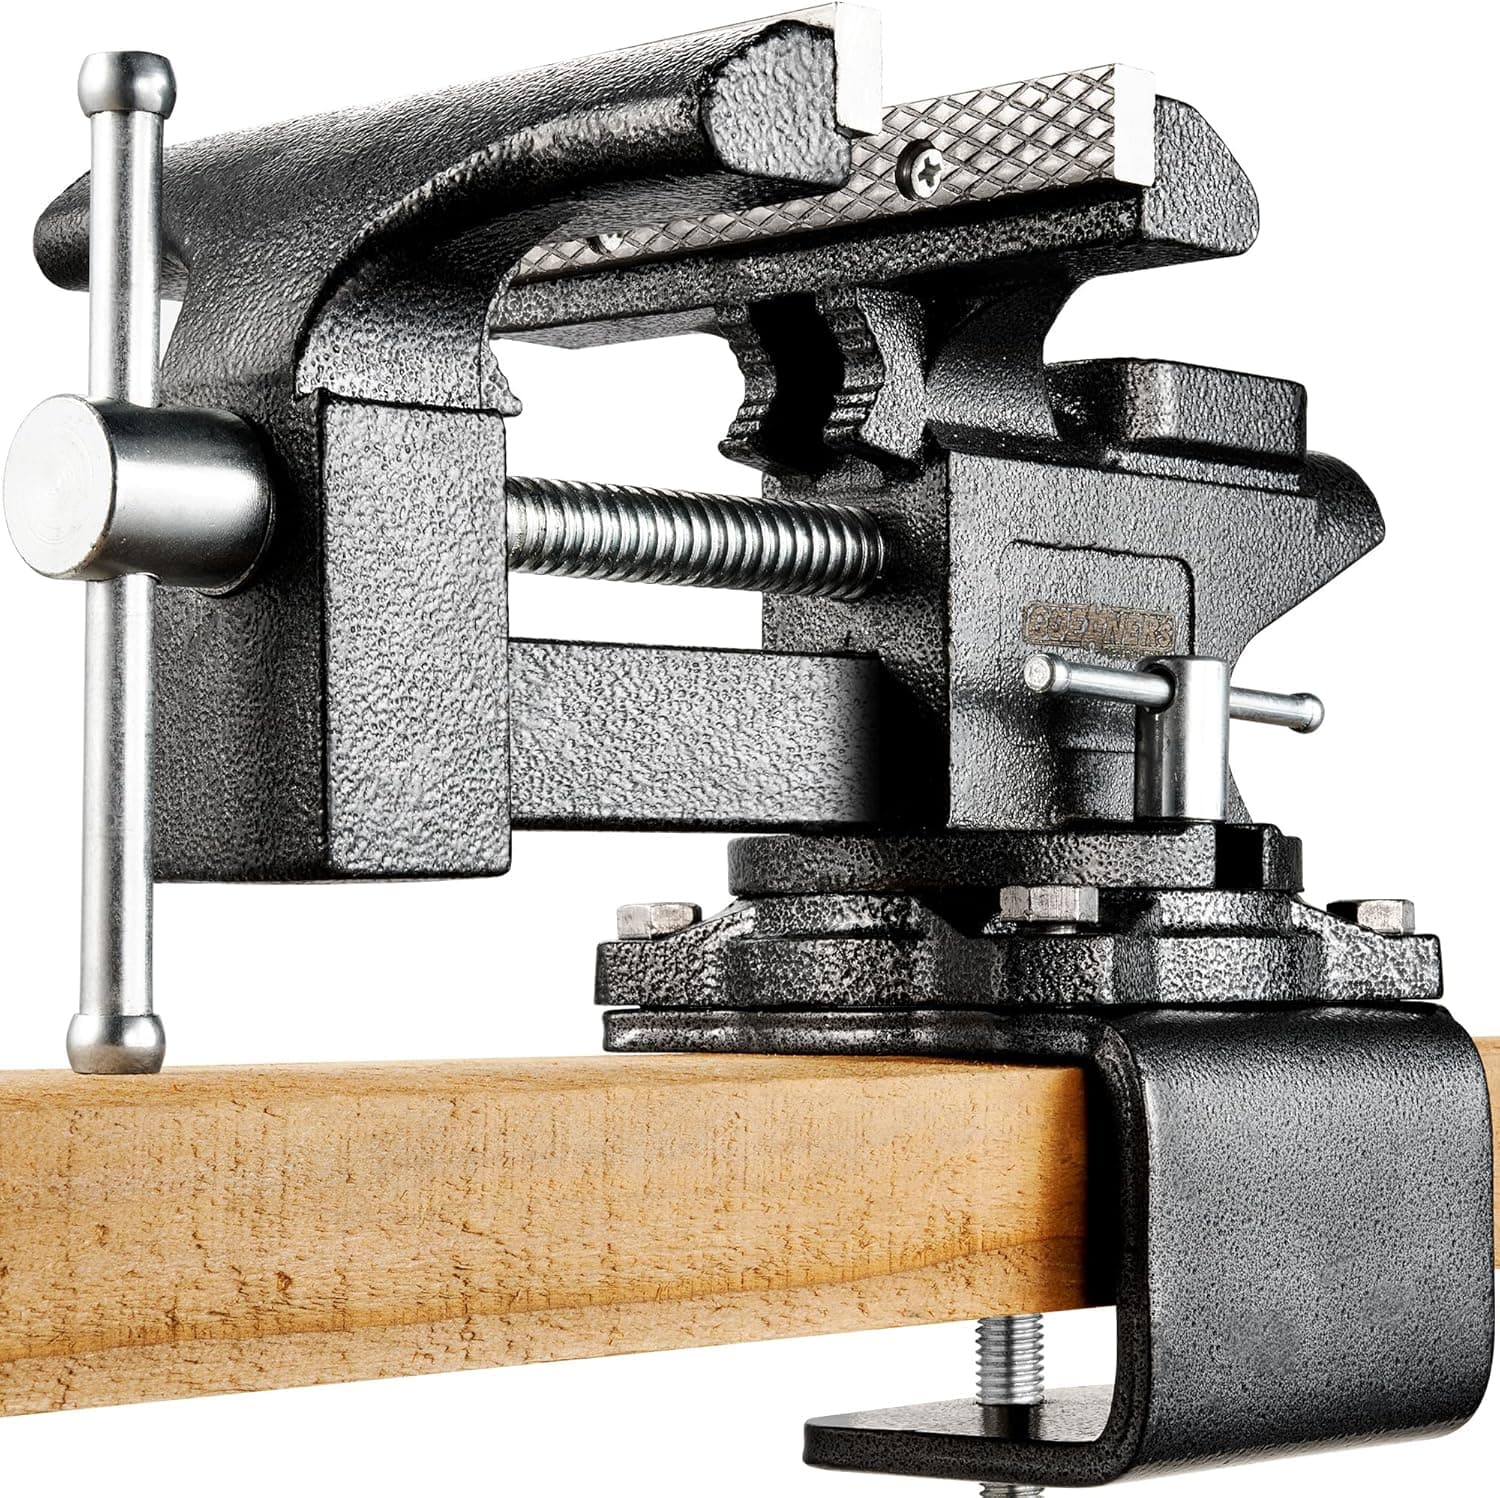
+ 6 in jaw width holds larger parts steady for cutting and welding
From our guide: Best Garage Vises
Start with dimensions that fit your space and body
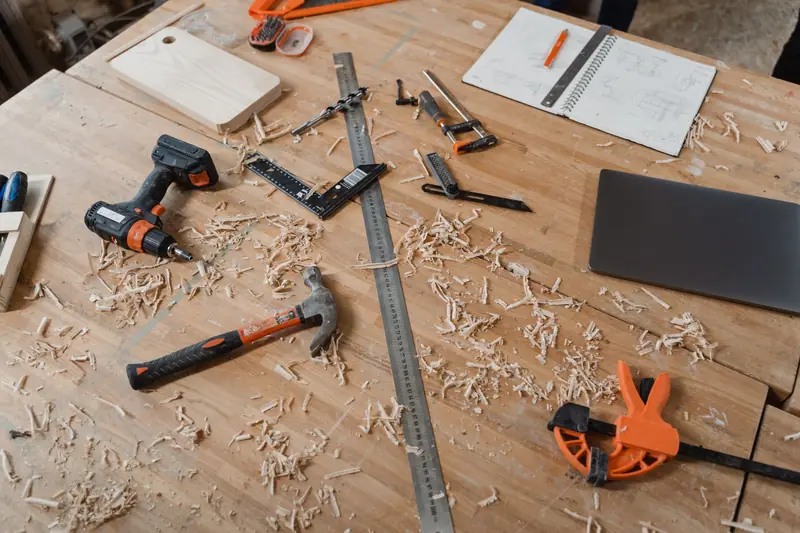
Start by deciding on dimensions that fit your space and your body. A common, comfortable size is around six feet long and two feet deep, with the work surface roughly at hip height so you are not hunching over. Measure your garage wall and leave room to move around the bench before you commit to a length. If you plan to stand and work for long stretches, err on the taller side, since a bench that is too low is hard on your back.
Gather materials and tools before you begin
For materials, dimensional lumber such as two-by-fours for the frame and legs offers a great balance of strength and cost. For the top, a sheet of thick plywood or two layers of it glued and screwed together gives you a durable, flat surface that can take a beating. Gather wood screws, wood glue, a drill or impact driver, a circular saw or handsaw, a tape measure, a square, and a level before you begin.
Build the frame first
Build the frame first. Construct two rectangular frames from your two-by-fours, one for the tabletop perimeter and one lower down as a shelf support. Attach the legs at each corner, checking with your square that every joint is at ninety degrees. Add a horizontal stretcher between the legs on each side for rigidity. This lower frame is also where a bottom shelf will sit, giving you bonus storage.
Attach and level the top
With the base assembled, attach the top. Set your plywood surface onto the upper frame and fasten it down with screws driven up through the frame or down through the top, adding glue for extra hold. If you doubled up the plywood, make sure the seams are staggered and fully bonded. Run your level across the finished top and shim the legs if your garage floor is uneven, since a wobbly bench is a frustrating bench.
Customize it for the way you work
Finally, customize it for the way you work. Add a pegboard panel to the back for hanging tools, mount a vise to one corner for clamping, or install a power strip along the edge for easy access to outlets. A coat of finish or paint on the top helps it resist stains and moisture. Once it is dialed in, this bench will become the spot where most of your projects come together.
Frequently asked questions
What size should a DIY garage workbench be? A common, comfortable size is around six feet long and two feet deep, with the work surface roughly at hip height so you are not hunching over.
What materials are best for a DIY workbench top? A sheet of thick plywood, or two layers glued and screwed together, gives a durable, flat surface that can take a beating, supported by a two-by-four frame.
How do I keep a DIY workbench from wobbling? Check every frame joint with a square for ninety degrees, run a level across the finished top, and shim the legs if your garage floor is uneven.
How can I customize a workbench for more storage? Add a pegboard panel to the back for hanging tools, mount a vise to one corner, or install a power strip along the edge, plus a lower shelf built into the base frame.
Popular right now
- Best Tool Hanging SystemsBuying guide
- Best PegboardsBuying guide
- Building a Mechanic's Tool Kit From ScratchArticle
- Best Heavy-Duty ShelvingBuying guide
- Best WorkbenchesBuying guide
- Epoxy vs Tile Garage FlooringArticle
Based on the last 28 days of search and visitor data.